One for all
GOM Inspect – Stand-alone solution for the entire workflow
Recognized industry standard in metrology
Engaging with customers on equal terms and developing software to solve their day-to-day challenges is the mission that has been driving GOM developers since day one. With its annual update cycles and an active user community, GOM Inspect has become a valued stand-alone software that handles the entire workflow from the first scan through to the final result report. The software offers a broad range of analysis functions that have been customized for various industries and are extended and enhanced on an ongoing basis. Customers can capture and analyze data in GOM Inspect, irrespective of the data source – a feature that is particularly interesting for ZEISS T-SCAN sensor users.
The focus is on three fields of application
Together with a host of improvements, the 2021 release provides new functions in three specific fields of application:
Extended volume inspection of CT data
Nondestructive measuring of parts and checking their inner surface for defects and material changes – these are the outstanding properties of industrial computed tomography. One of the new features in GOM Volume Inspect is an innovative volume renderer that excels at its ease of use and intuitive generation of sectional views. This allows for the visualization of the whole part and its internal structure as well as for the creation of sectional views for analysis. The volume inspection also comes with a porosity analysis based on Directive P203 (12/2019) of the Association of the German Foundry Industry (BDG).

Airfoil inspection with GOM Blade Inspect
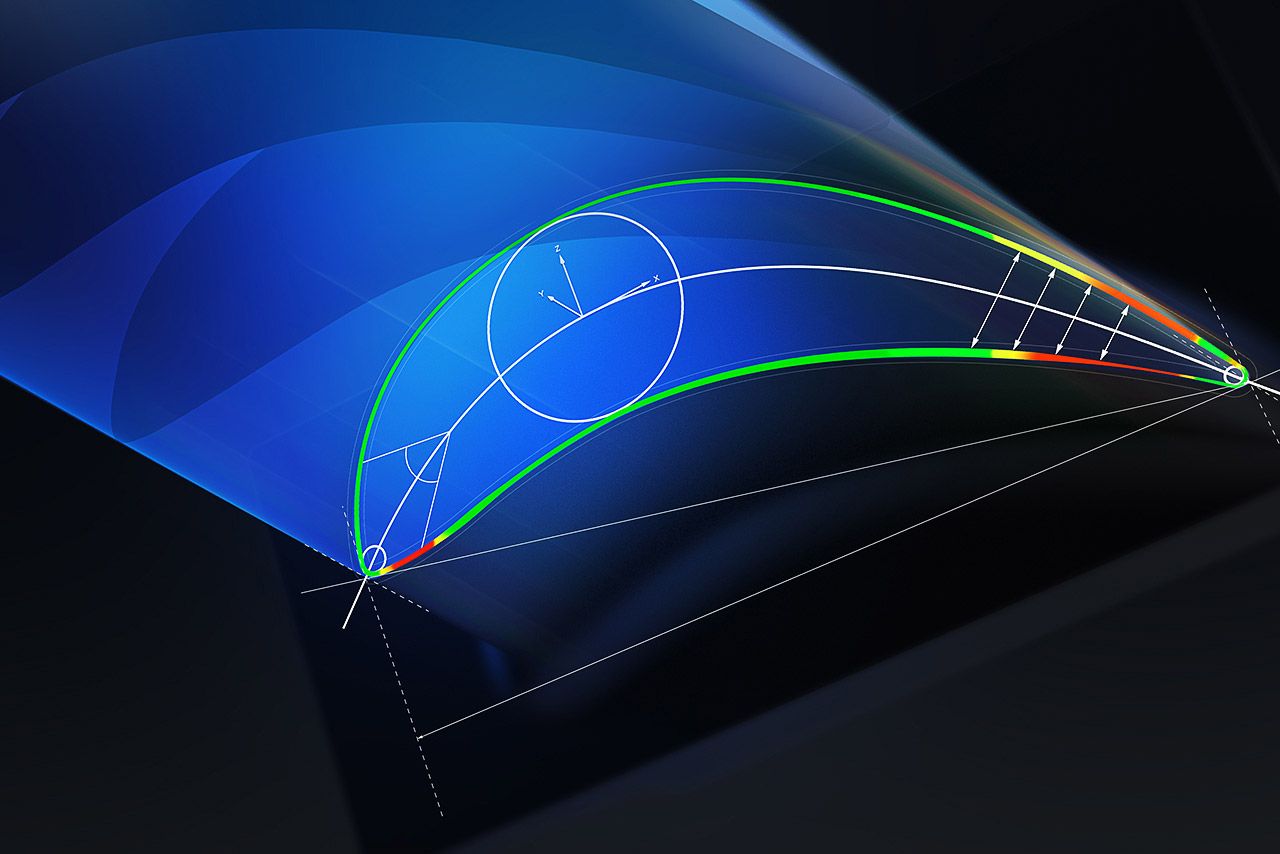
The new software solution GOM Blade Inspect offers industry-specific 2D and 3D evaluations for airfoil quality assurance processes that meet high and diverse industrial inspection requirements. It also features an enhanced blisk evaluation and basically offers boundless options. With GOM Blade Inspect, users can unite their proprietary scripts and evaluation standards into one platform concept and integrate it directly into the inspection process.

Simple handling of automated quality assurance
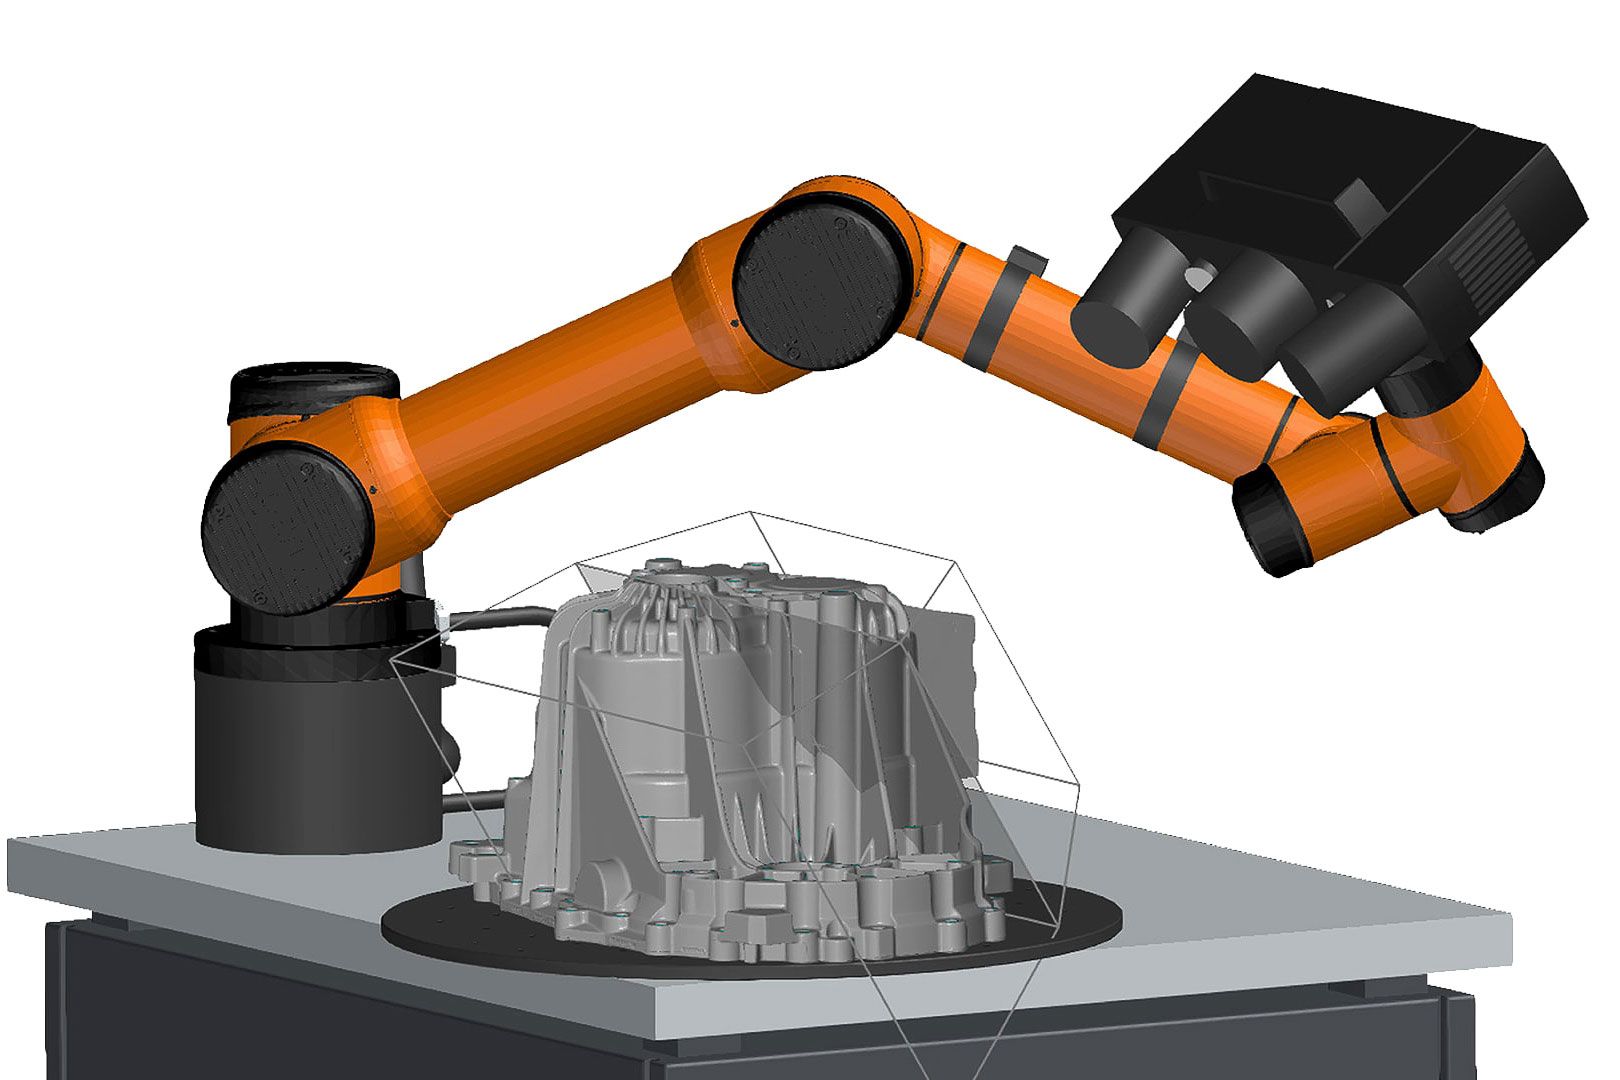
By introducing the new GOM software, GOM has further simplified the automated measurement process. Thanks to the new Smart Scanning function in the virtual measuring room (VMR), users can teach, execute and enhance measurements with just a single click. This function is based on the nominal data and dovetails all necessary steps into a single process. For instance, operating the ATOS ScanBox will be even easier and more productive.


The control center for all GOM products
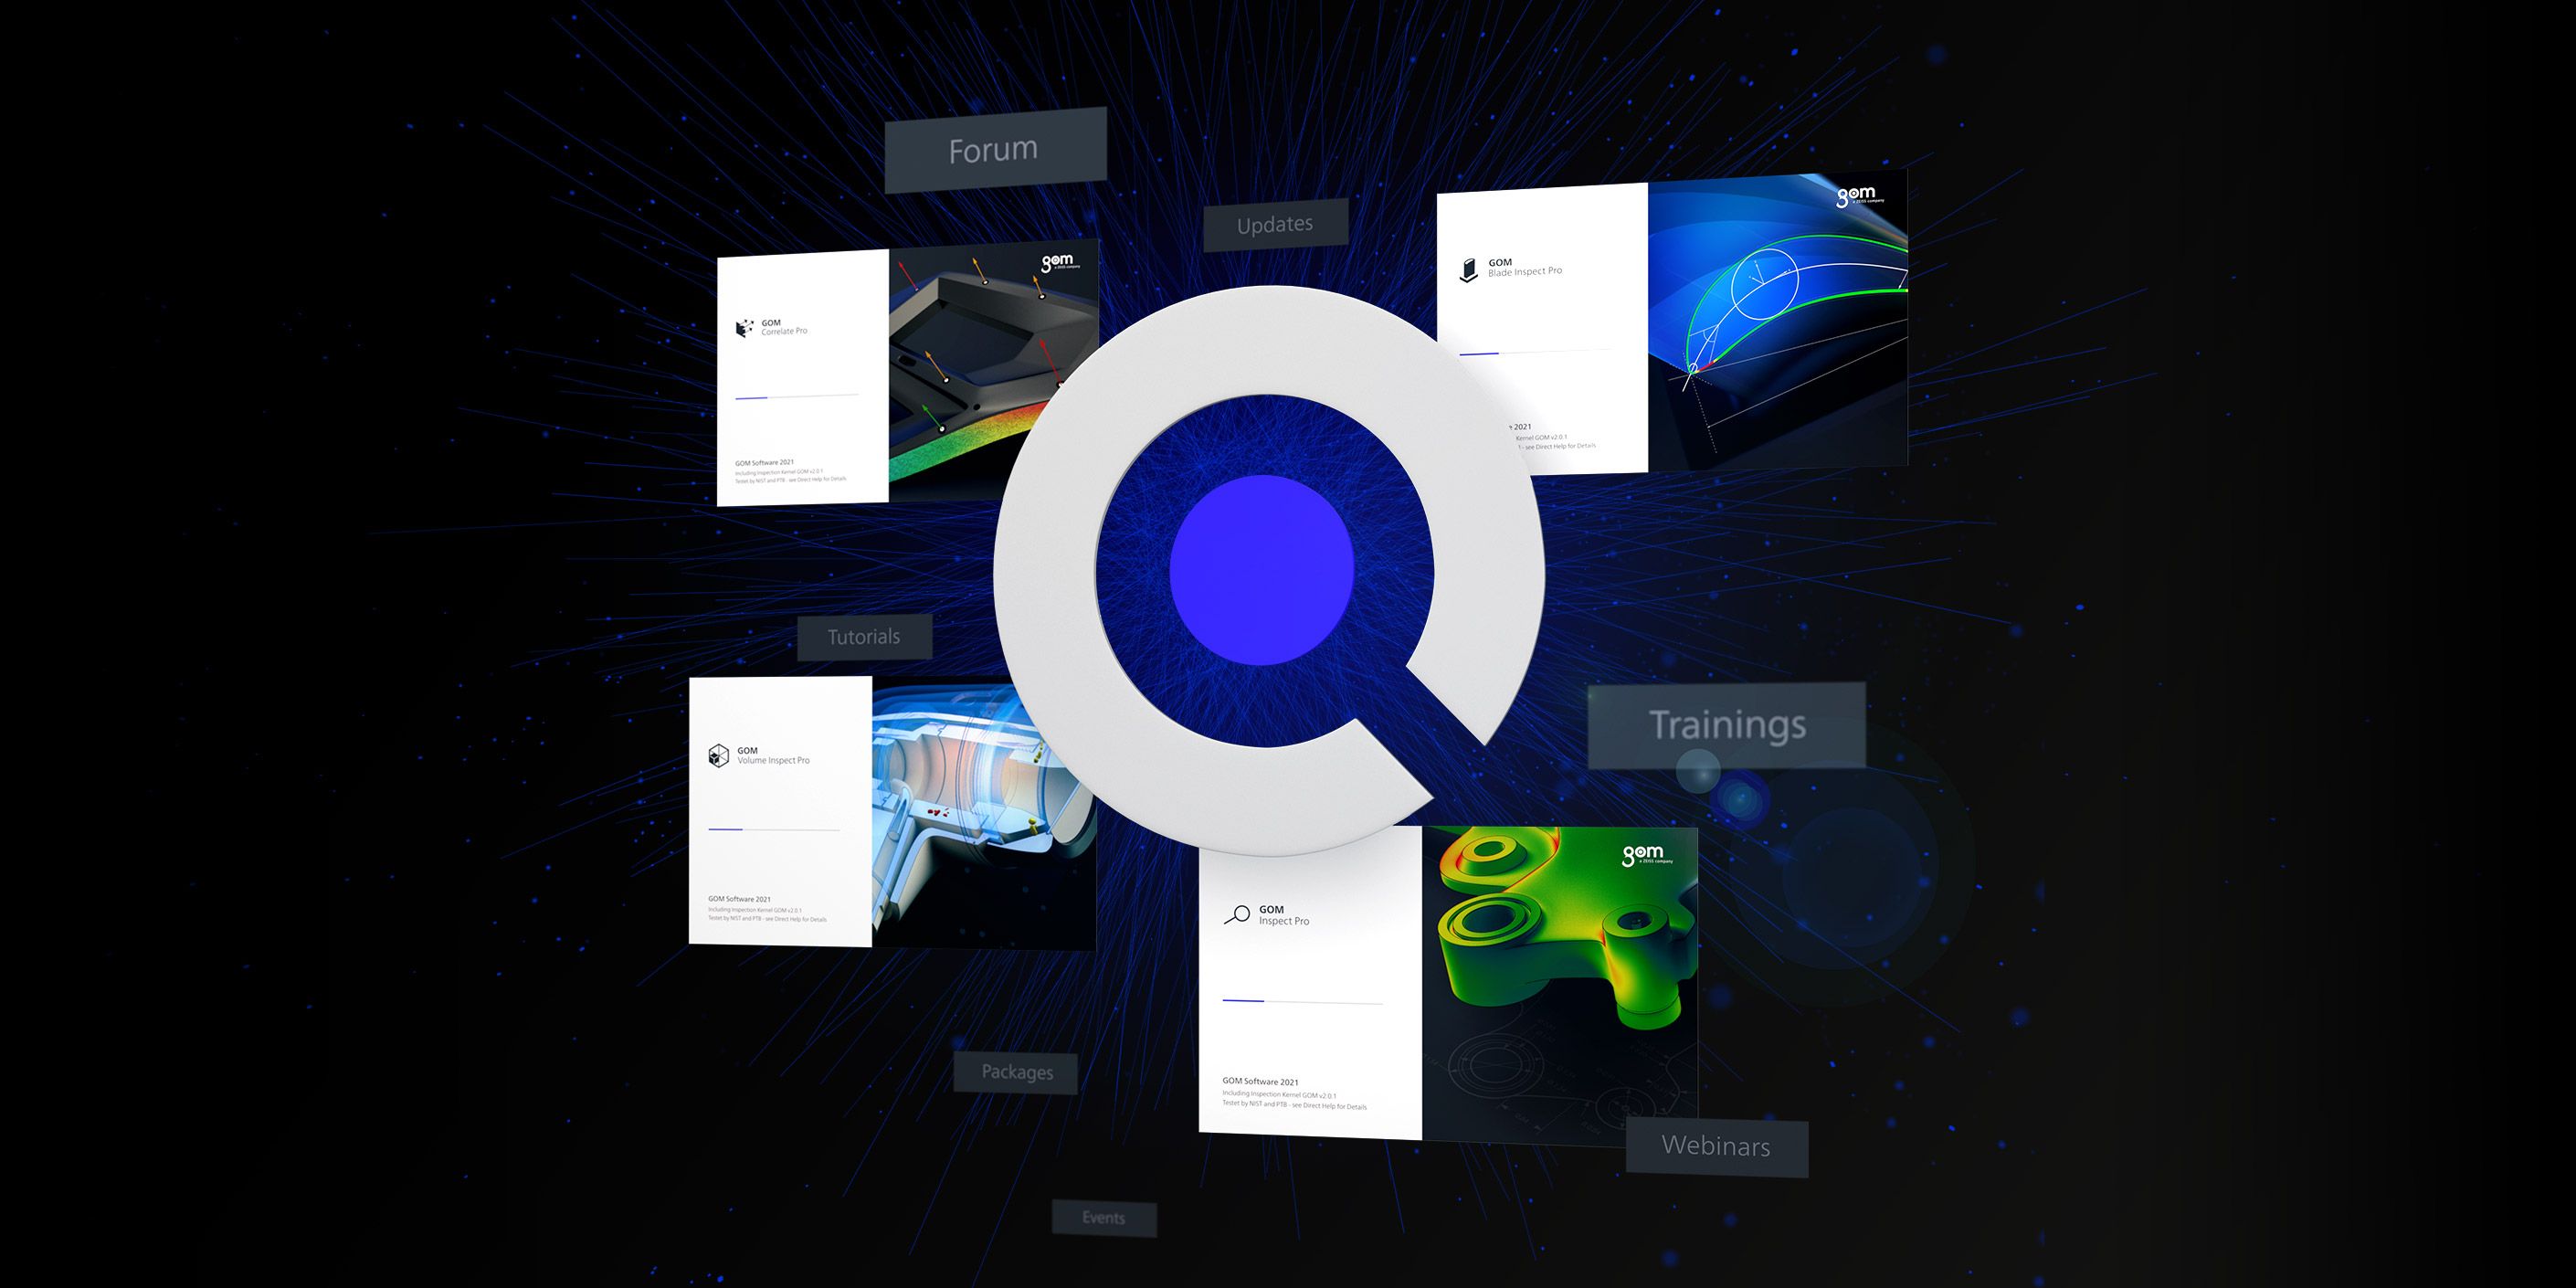
The GOM Suite offers an ideal overview of all software products as well as other services and information relating to GOM. It is the central interface from where users can operate GOM Inspect, GOM Correlate, GOM Volume Inspect, and GOM Blade Inspect as well as having access to the GOM Training Center, the GOM Forum, or the FAQs. The GOM Suite start page also displays the latest news and events revolving around 3D metrology.
Get to know the GOM software
At GOM’s website, users will find a free download and unlimited use of the basic software. Users interested in trying out more features can download a free 30-day trial version of the GOM Inspect Professional module.
Learn more about the GOM software
