Faster inspection
Automated Production Control of Large Plastic Parts
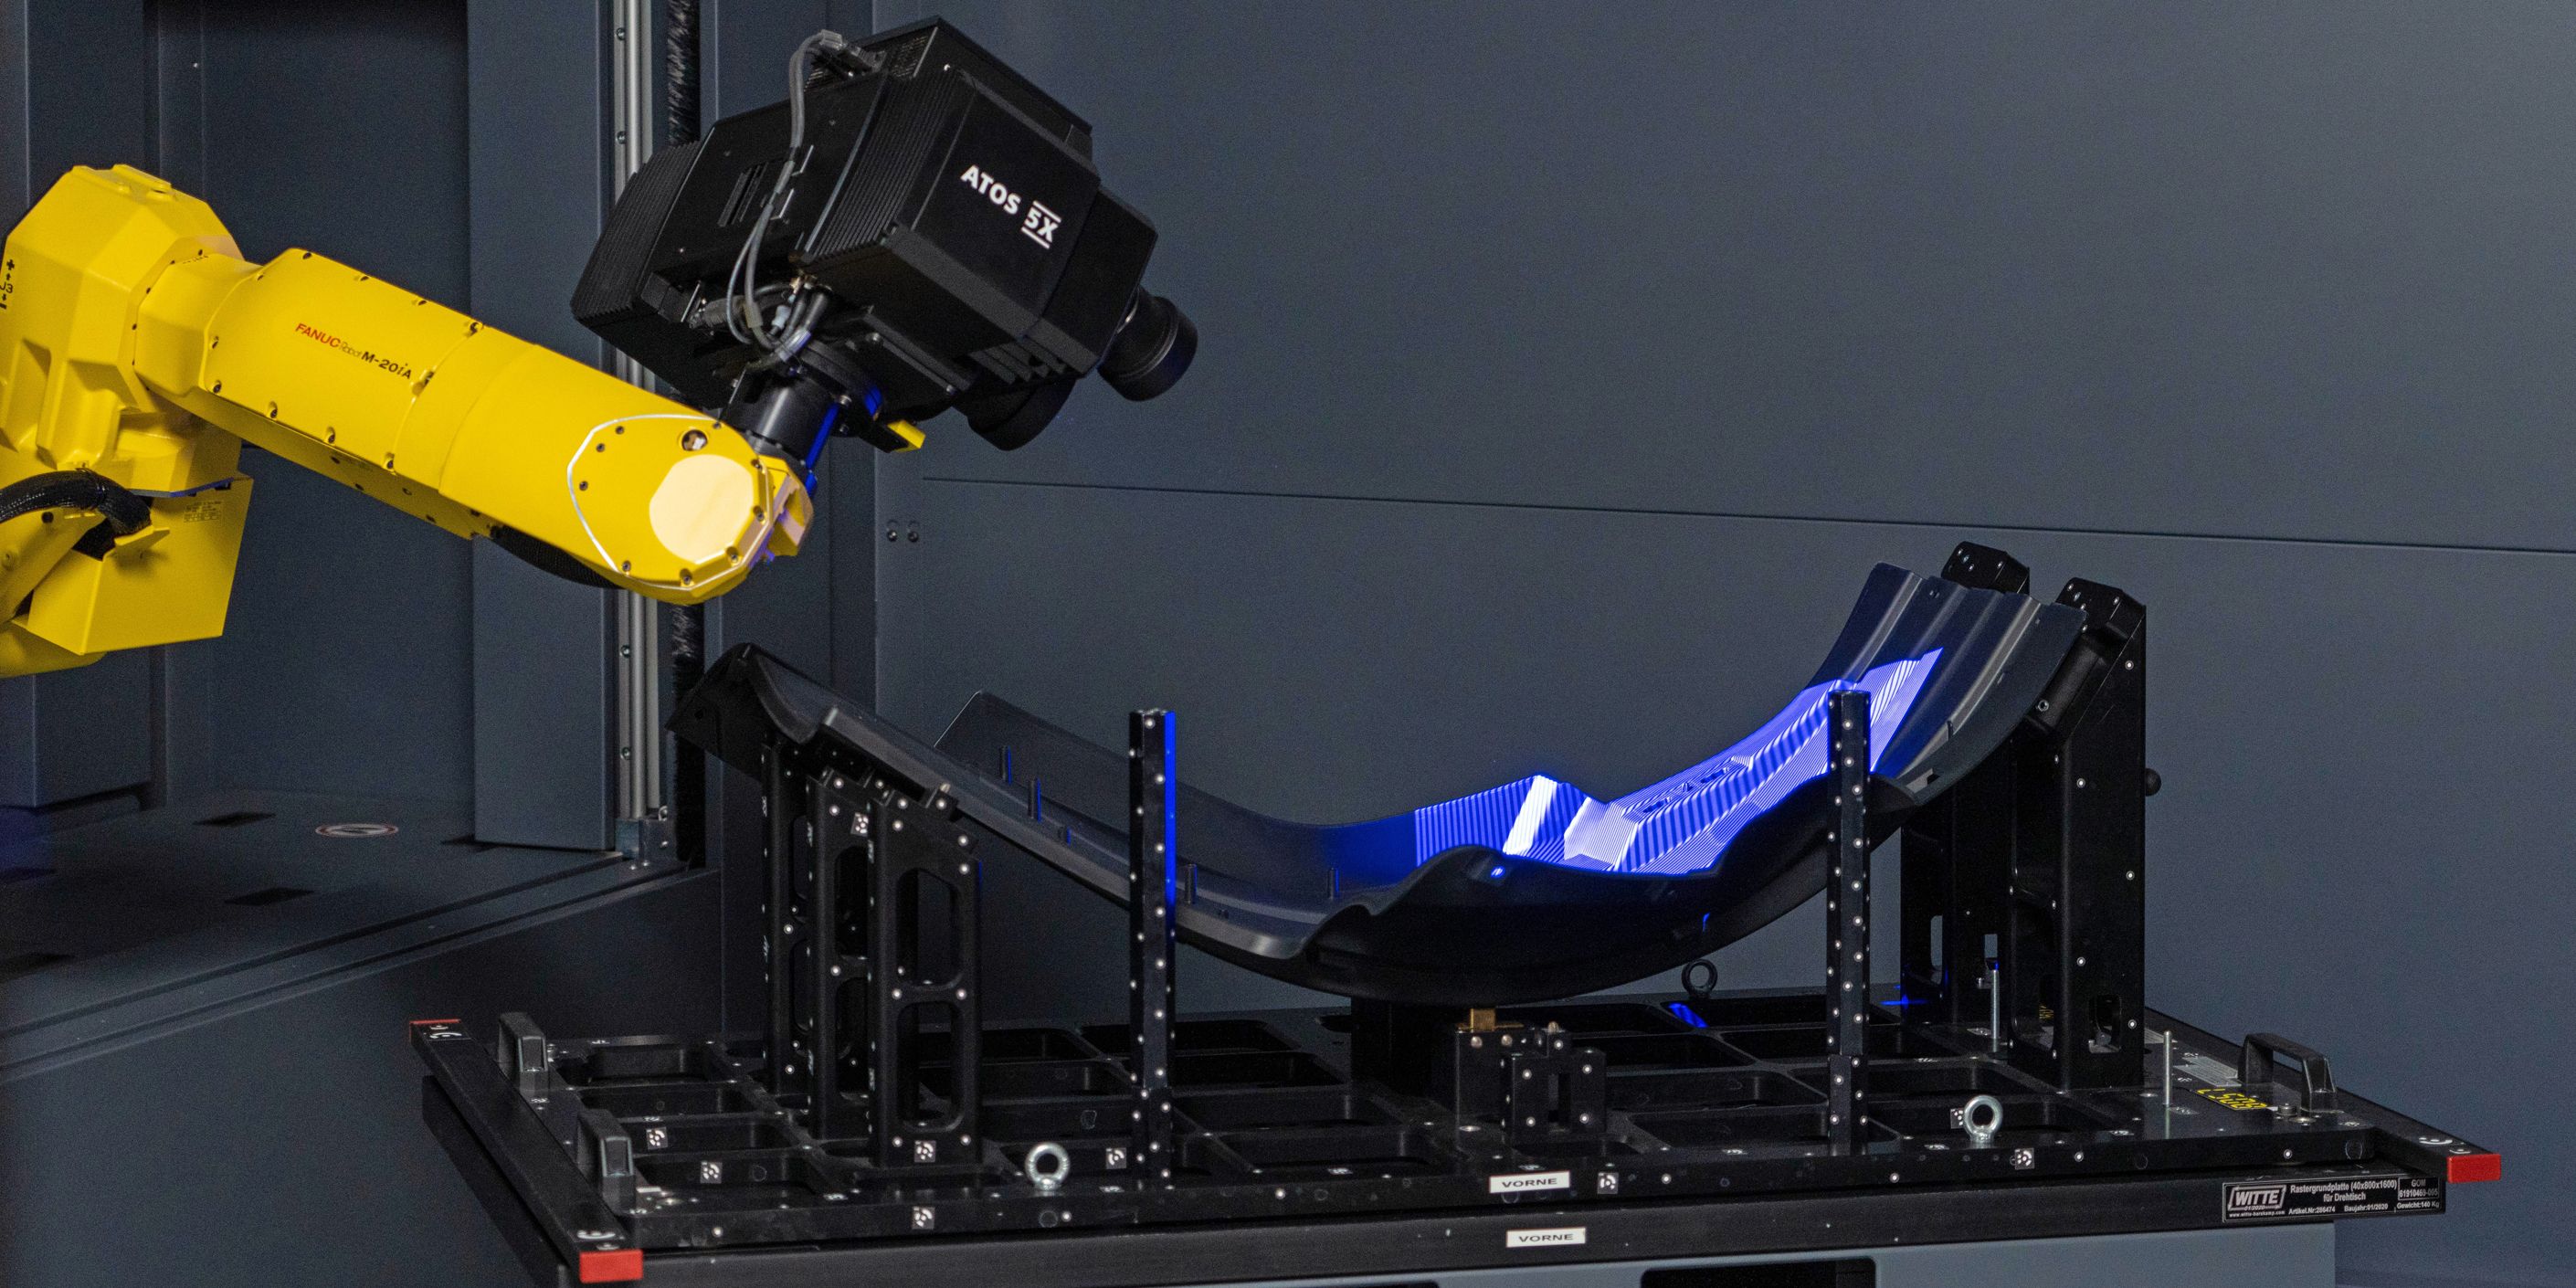
Coko-Werk GmbH & Co. KG has a long tradition in plastic injection molding. Established in 1926, Coko started off with a unique product, the unbreakable celluloid comb. Today, the injection molding company is a system supplier for technical plastic articles and specializes in large parts. Since 2020, Coko uses the ScanBox optical 3D measuring machine at its development and innovation site in Bad Salzuflen, Germany, to ensure efficient quality control in the production process.
Optical 3D metrology reduces start-up times and ensures quality
Automotive engineering is part of the core business in Bad Salzuflen. Parts such as mudguards (fenders) for utility vehicles are produced on a machine with a closing force of 2,400 tons. Coko also manufactures a large number of headlight housings for several OEMs. Its experts benefit from the ZEISS optical 3D measurement technology systems while managing these challenges. The full-field measuring results guarantee faster first article inspection and targeted tool correction, thereby reducing production lead times.


Multi-part fixture increases throughput and provides flexibility
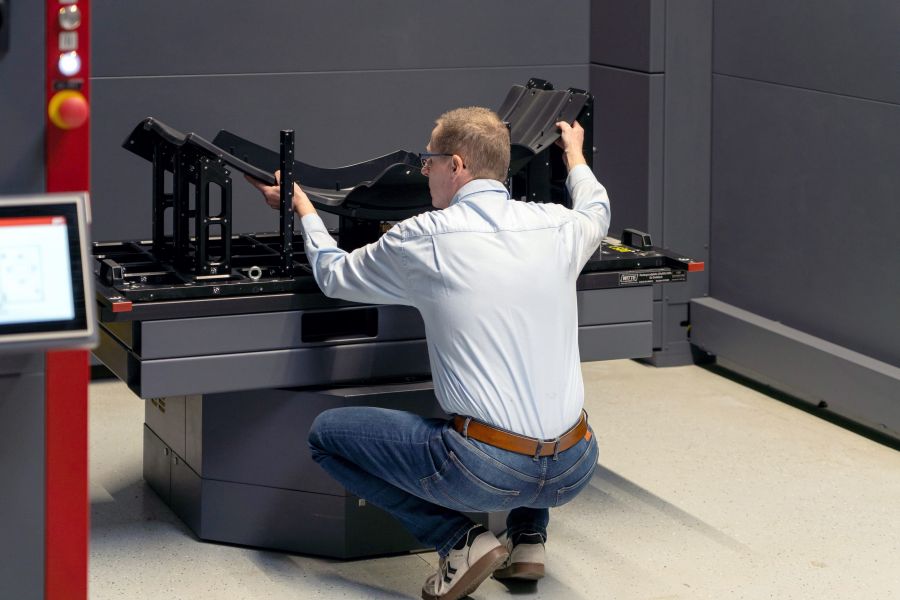
The mudguards are digitized using a standard fixture based on the 3-2-1 principle. “During this measuring job, we used a multi-part fixture as a measuring fixture in order to increase throughput,” explains Andre Gromann, Head of Metrology at Coko. Thanks to the multi-part fixture, two mudguards can be scanned simultaneously.
In series inspections, the measuring job is initiated via the simple and self-explanatory Kiosk Interface of ScanBox. Measurement and inspection programs are stored as templates in the virtual measuring room of the software. Users can access them in the Kiosk mode. Inspection takes only a short while. The inspection results are then automatically migrated into Coko’s CRQ system.
3D metrology software is crucial during the product development process
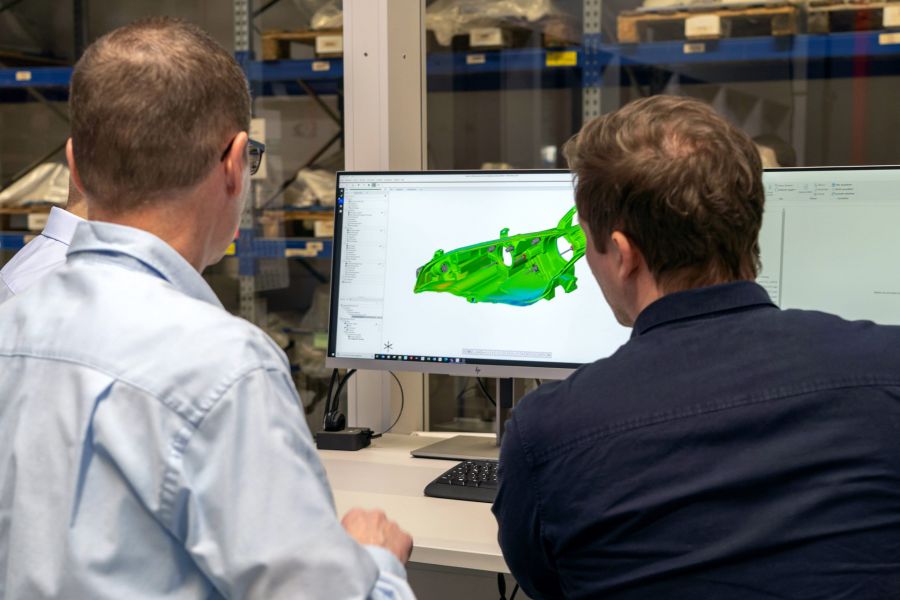
Coko uses the inspection software for detailed 3D data evaluations. “When inspecting headlight housings, we typically measure diameters, cylindricities and position deviations,” explains Björn Sonters, metrology engineer at Coko, and adds: “We concentrate especially on the RPS alignment and point-to-point evaluations.” GD&T evaluation is also very important in the field of plastic injection molding. Thanks to the user-friendly software, it is easy to verify whether form errors are within permissible limits.
“You can see the error at first glance. If the headlight socket has slight deviations, it cannot be installed in some cases,” explains Björn Sonters. Coko has started to integrate technology into its production processes. “This integration needs fast, reliable and efficient metrology systems,” as Andreas Spilker, Head of QA/QM at Coko, points out. And he adds: “Of course, we want to oversee the production process. We want to have qualified results, and most of all: We want to be fast.”
