High-tech solutions for the energy industry
Tailwind for Quality Control
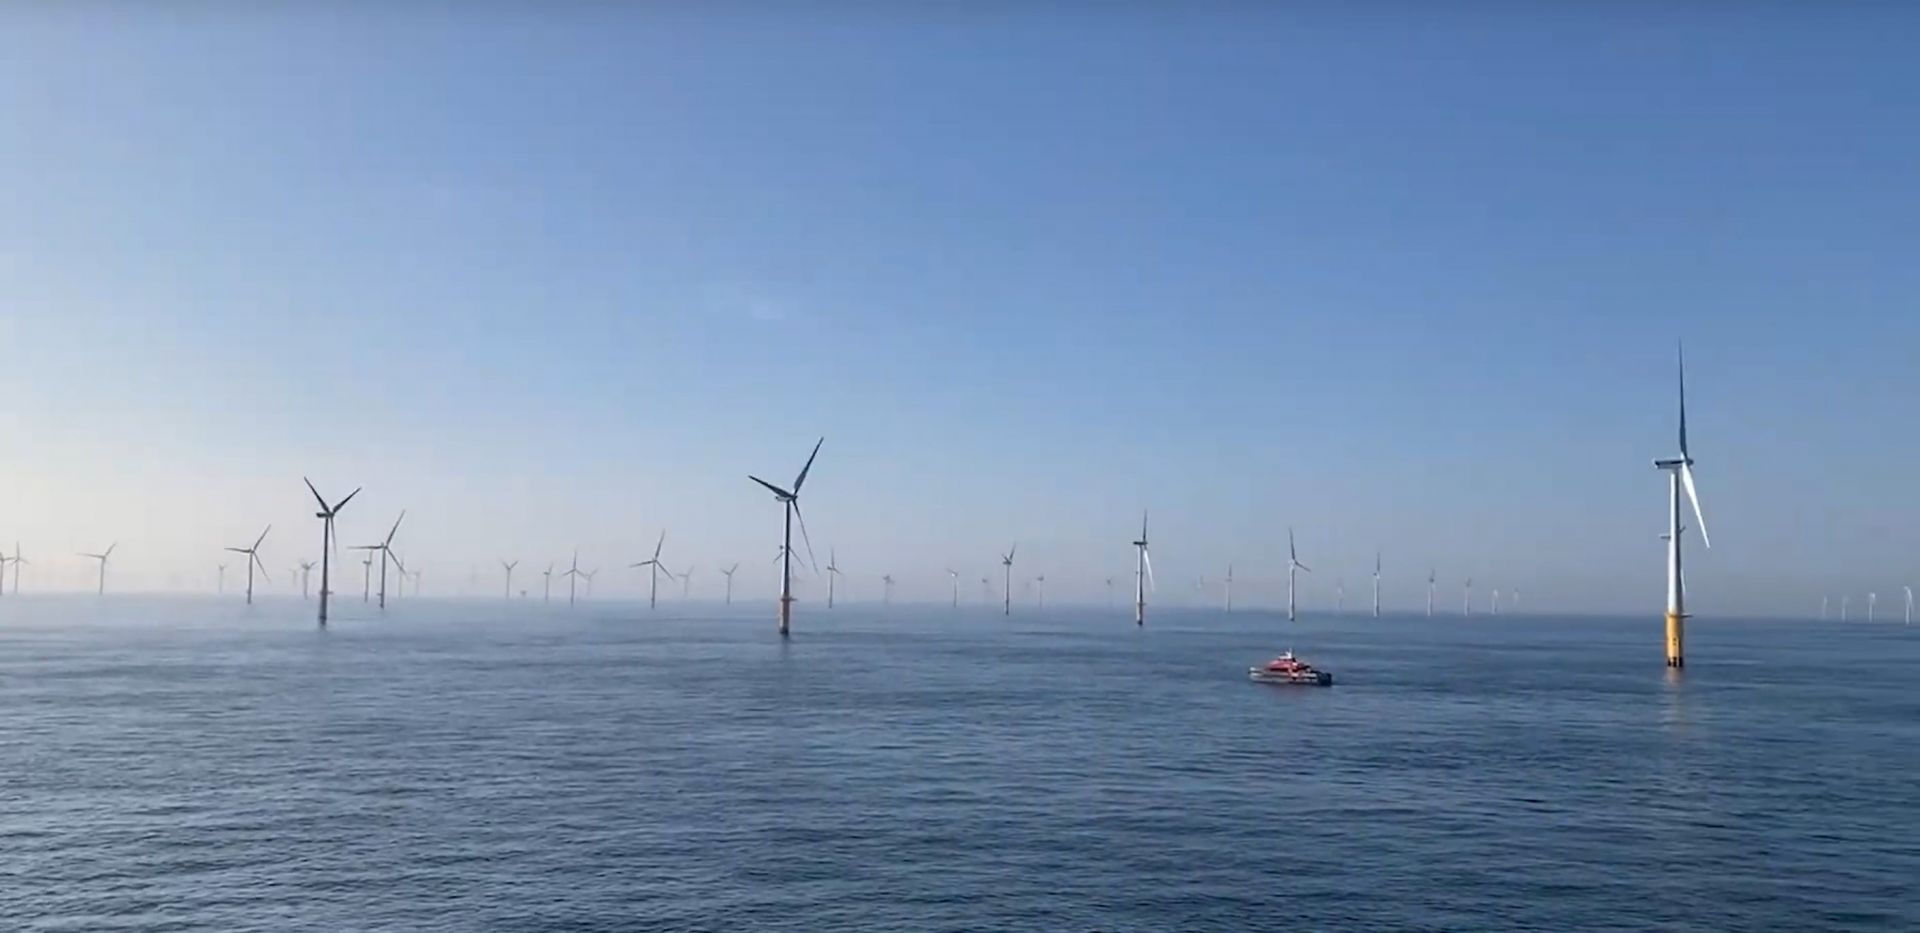
The market for energy technologies is marked by strong growth and an innovative spirit. According to the International Energy Agency (IEA), investment in renewables is expected to rise to about USD 2 trillion per year by 2030. Solar and wind power plants are at the core of this development, yet new technologies such as electrolyzers for hydrogen production are also accelerating the rapid growth.
Microscopic semiconductor elements as well as gigantic wind turbines have to meet stringent precision specifications in order to achieve maximum performance and efficiency. ZEISS offers a broad portfolio of specialized measurement solutions to meet such a myriad of challenges – as illustrated by the following applications.
Rotor blades with complex geometries
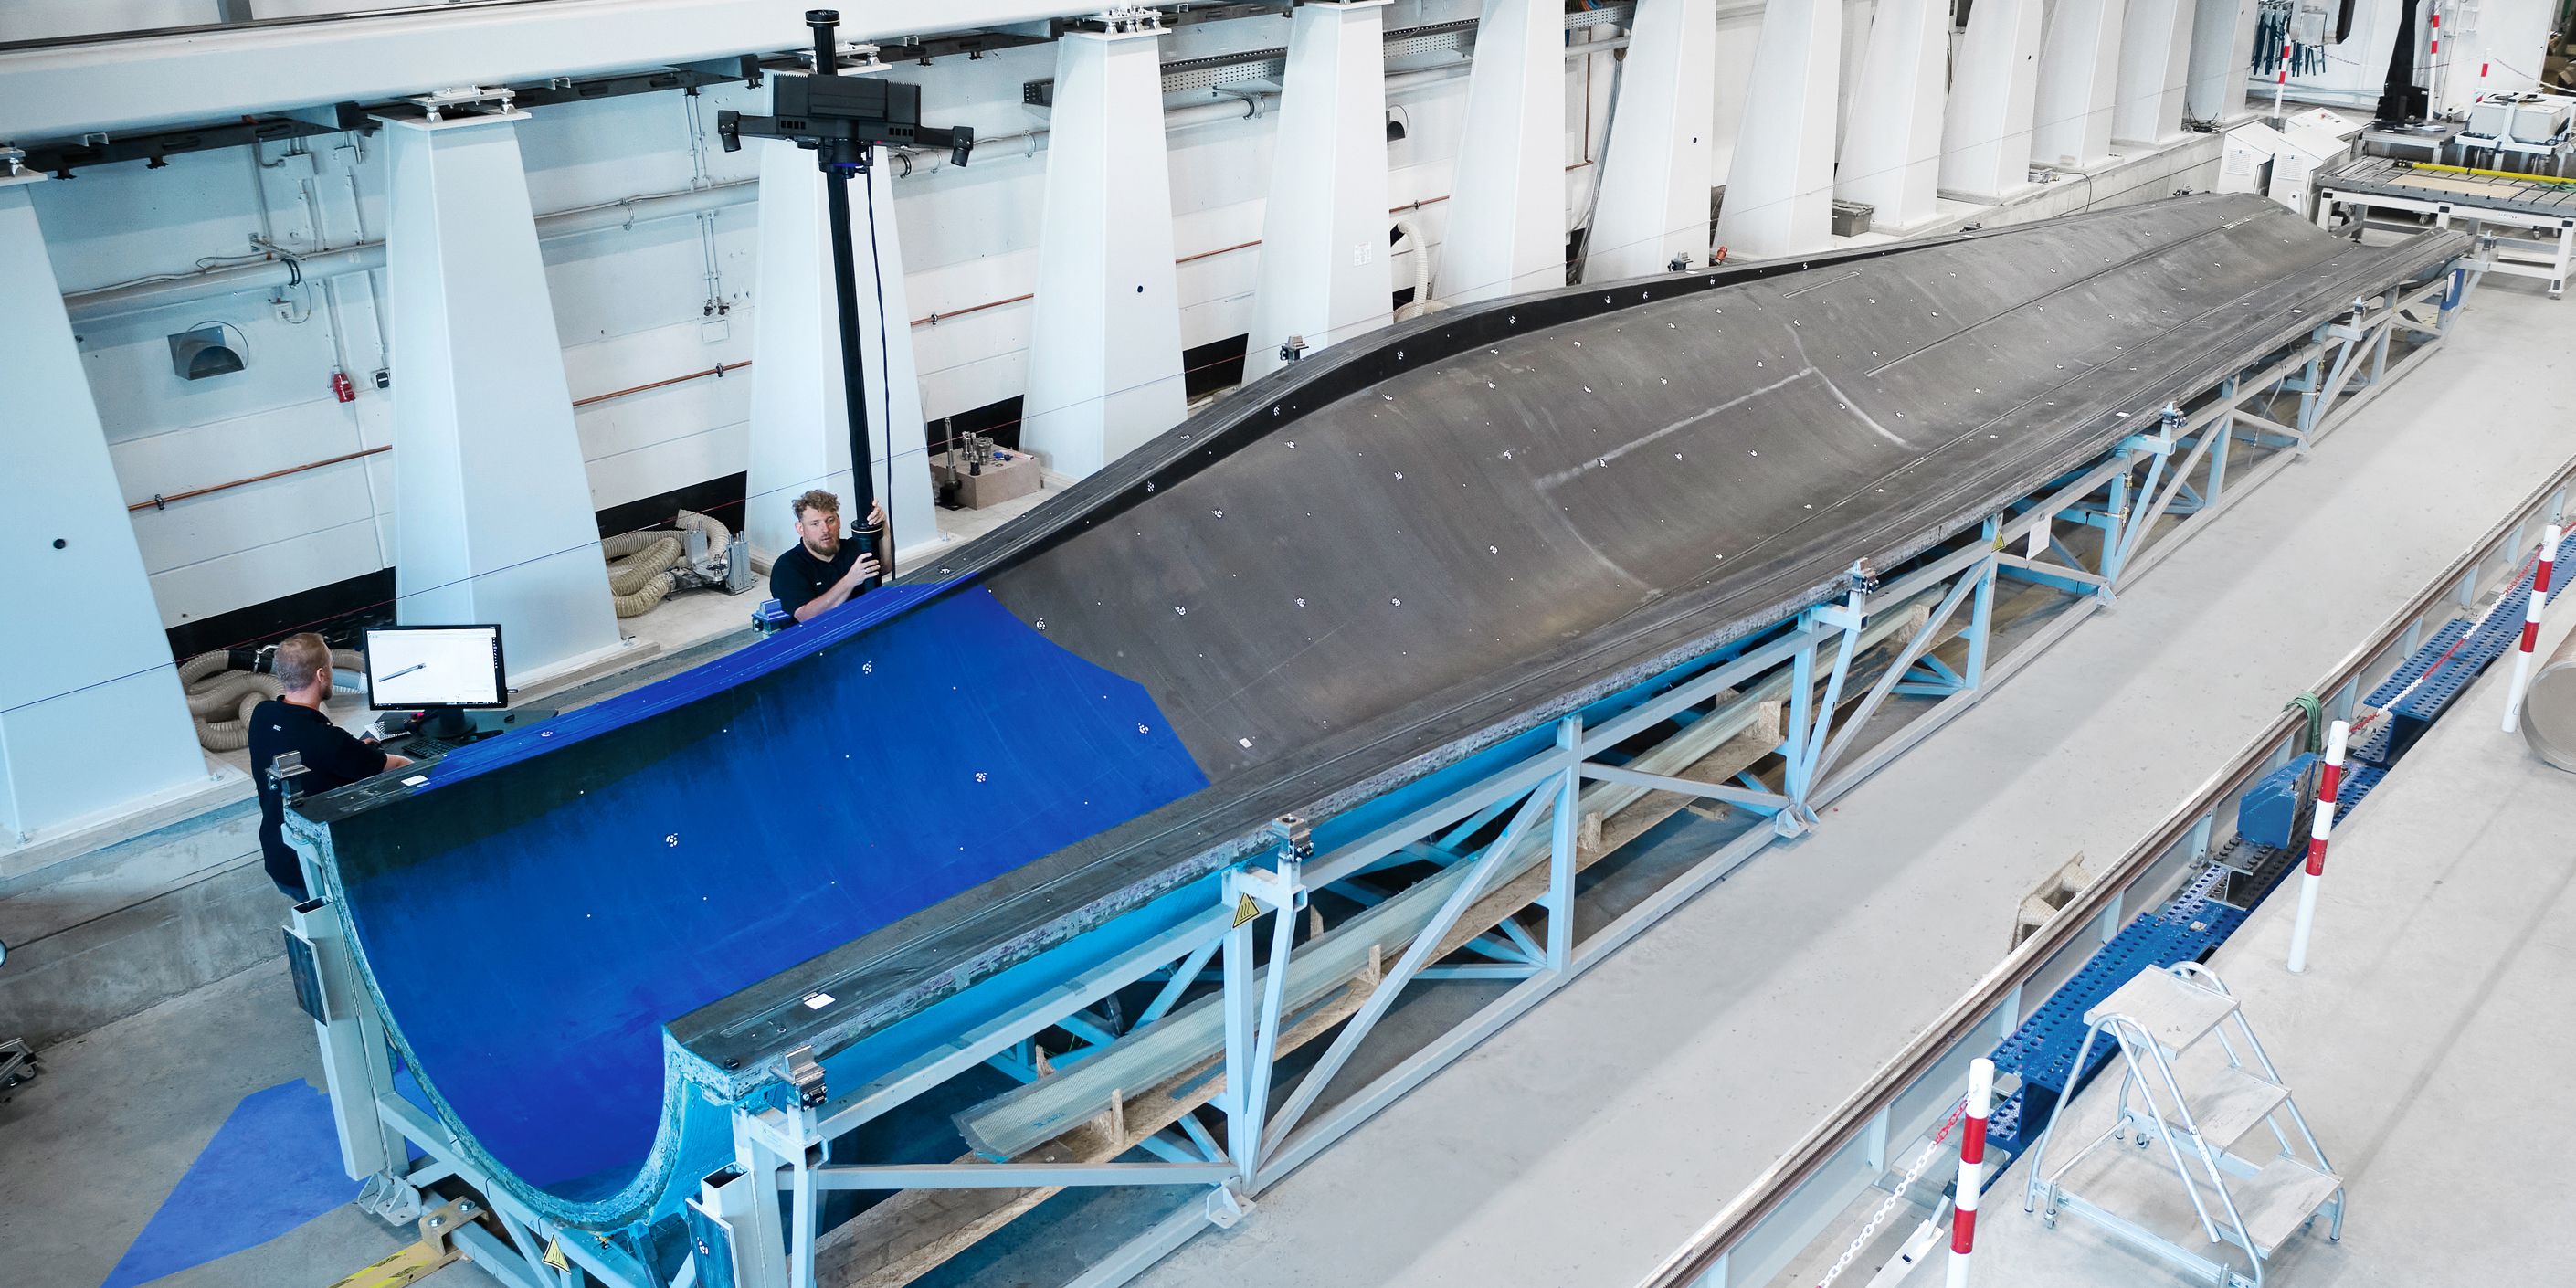
Wind turbine blades belong by far to the largest individual components. Their design is based on complex engineering efforts where aerodynamic, static and weight-related specifications have to be met. The new ZEISS ATOS LRX is the ideal solution for inspecting both molds and free-form surfaces of rotor blades and for correcting deviations while production is underway. Thanks to a powerful laser light source, the 3D scanner swiftly delivers full-field data – now as a new feature for surfaces of up to four square meters.
Quality control at sea
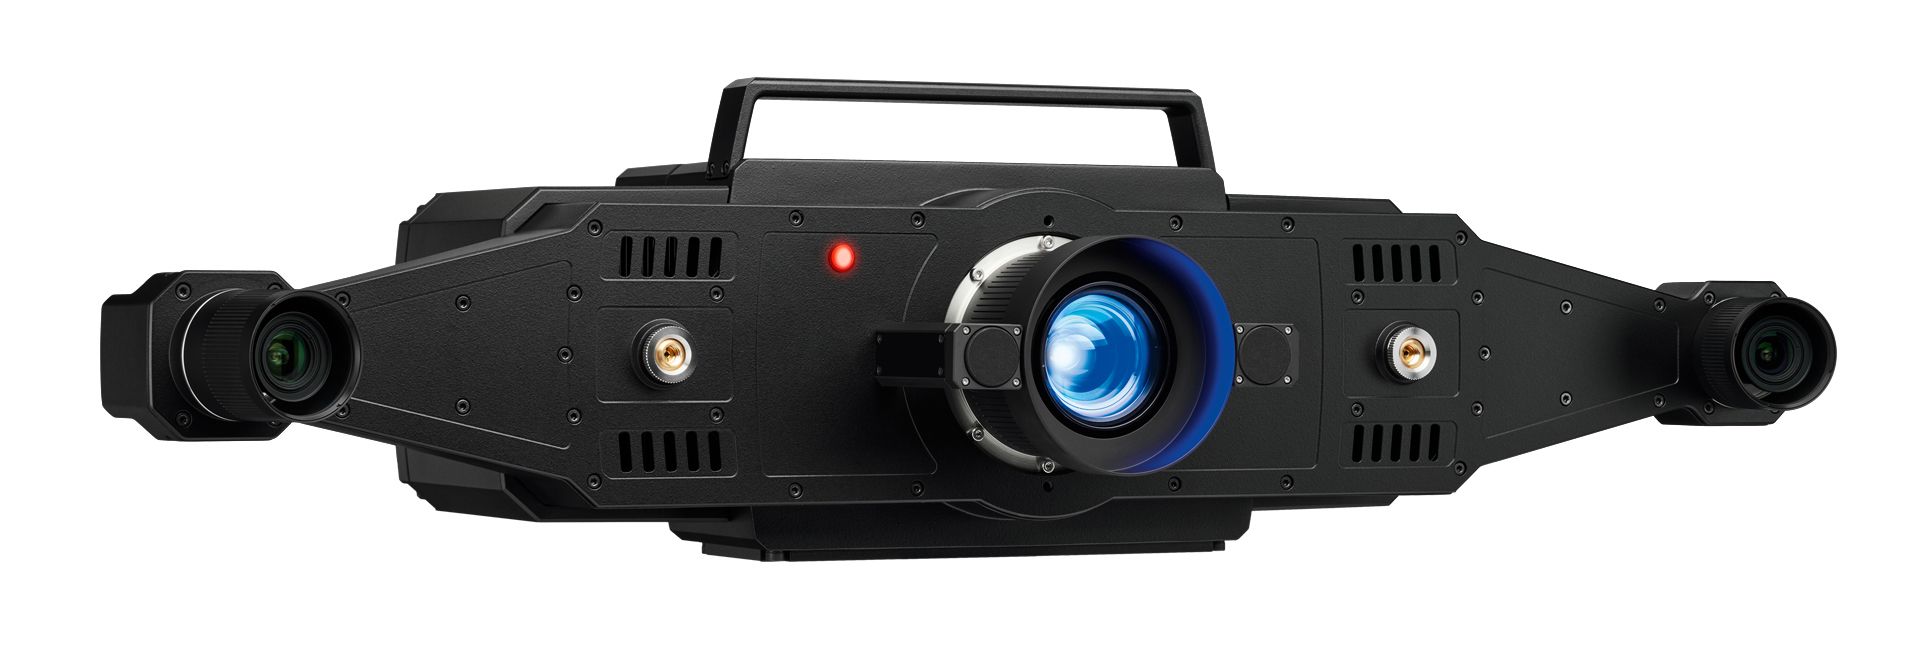
Not only do you have to be seaworthy to check offshore wind turbines for defects, you also need the right equipment. The portable ZEISS T-SCAN hawk 2 laser scanner offers industrial metrology to go and can even access hard-to-reach areas in large objects. You can use it, for instance, to scan inner surfaces
of offshore steel towers to visualize the impact of salt corrosion on the alloy, thus facilitating accurate calculations of their service life.
Rolling bearings with enormous dimensions
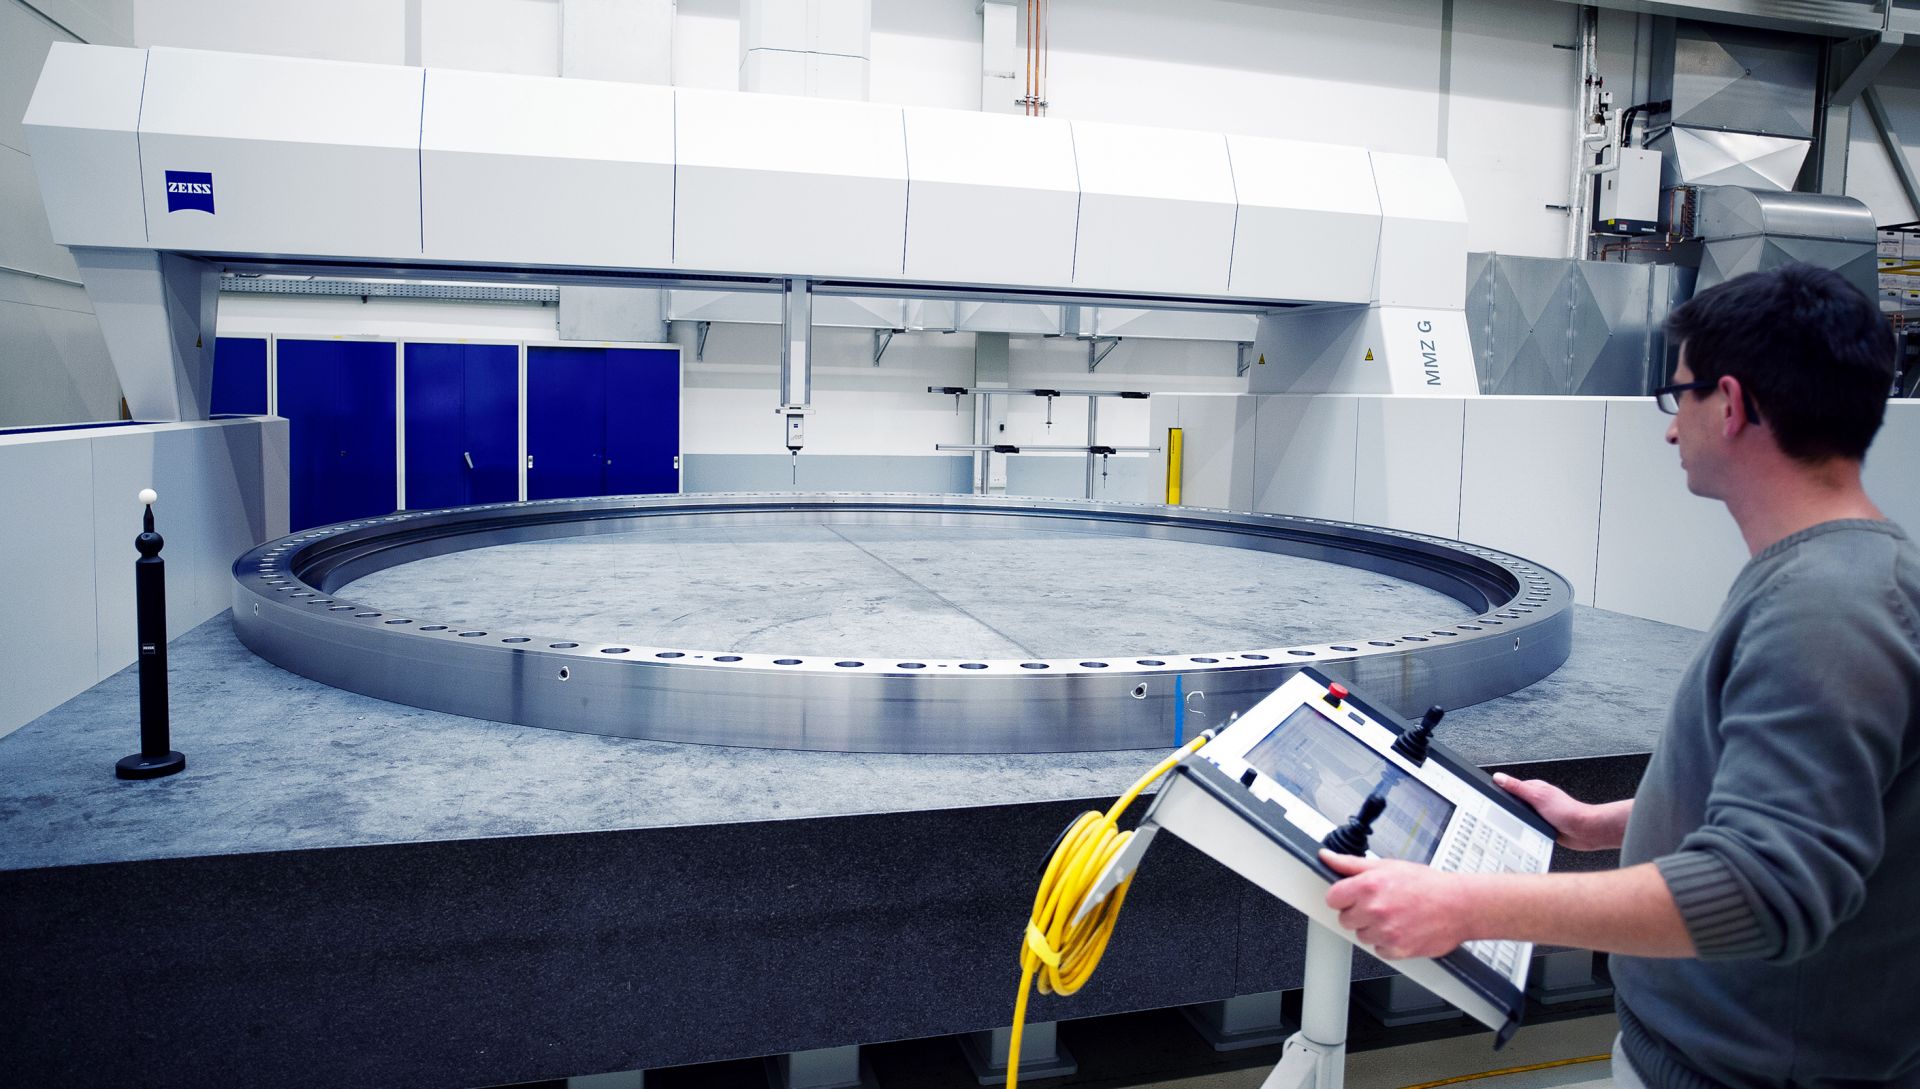
Large rolling bearings at the rotor hub ensure that literally everything runs smoothly: They are designed for low noise emissions and heat generation. As the bearings are permanently subjected to extreme forces, even the slightest deviations from the design can cause elevated noise emissions and ultimately wear and tear and bring the system to a halt. Inspecting tolerances in the micrometer range, however, is quite a challenge when dealing with gigantic towers of up to eight meters in diameter. Accordingly, the measuring devices also have to play in a different league: This is where large bridge-type coordinate measuring machines in the ZEISS MMZ G line come in. Even when challenged with enormous measuring volumes, they excel at unparalleled accuracy. The machines inspect the form, distance and diameter of bores as well as the height, parallelism and flatness of a workpiece. The largest machine in the line – ZEISS MMZ G 80/80/20 – can measure bearing rings with an outer diameter of up to 8,000 mm.
Efficiency in solar cell production with microscopy
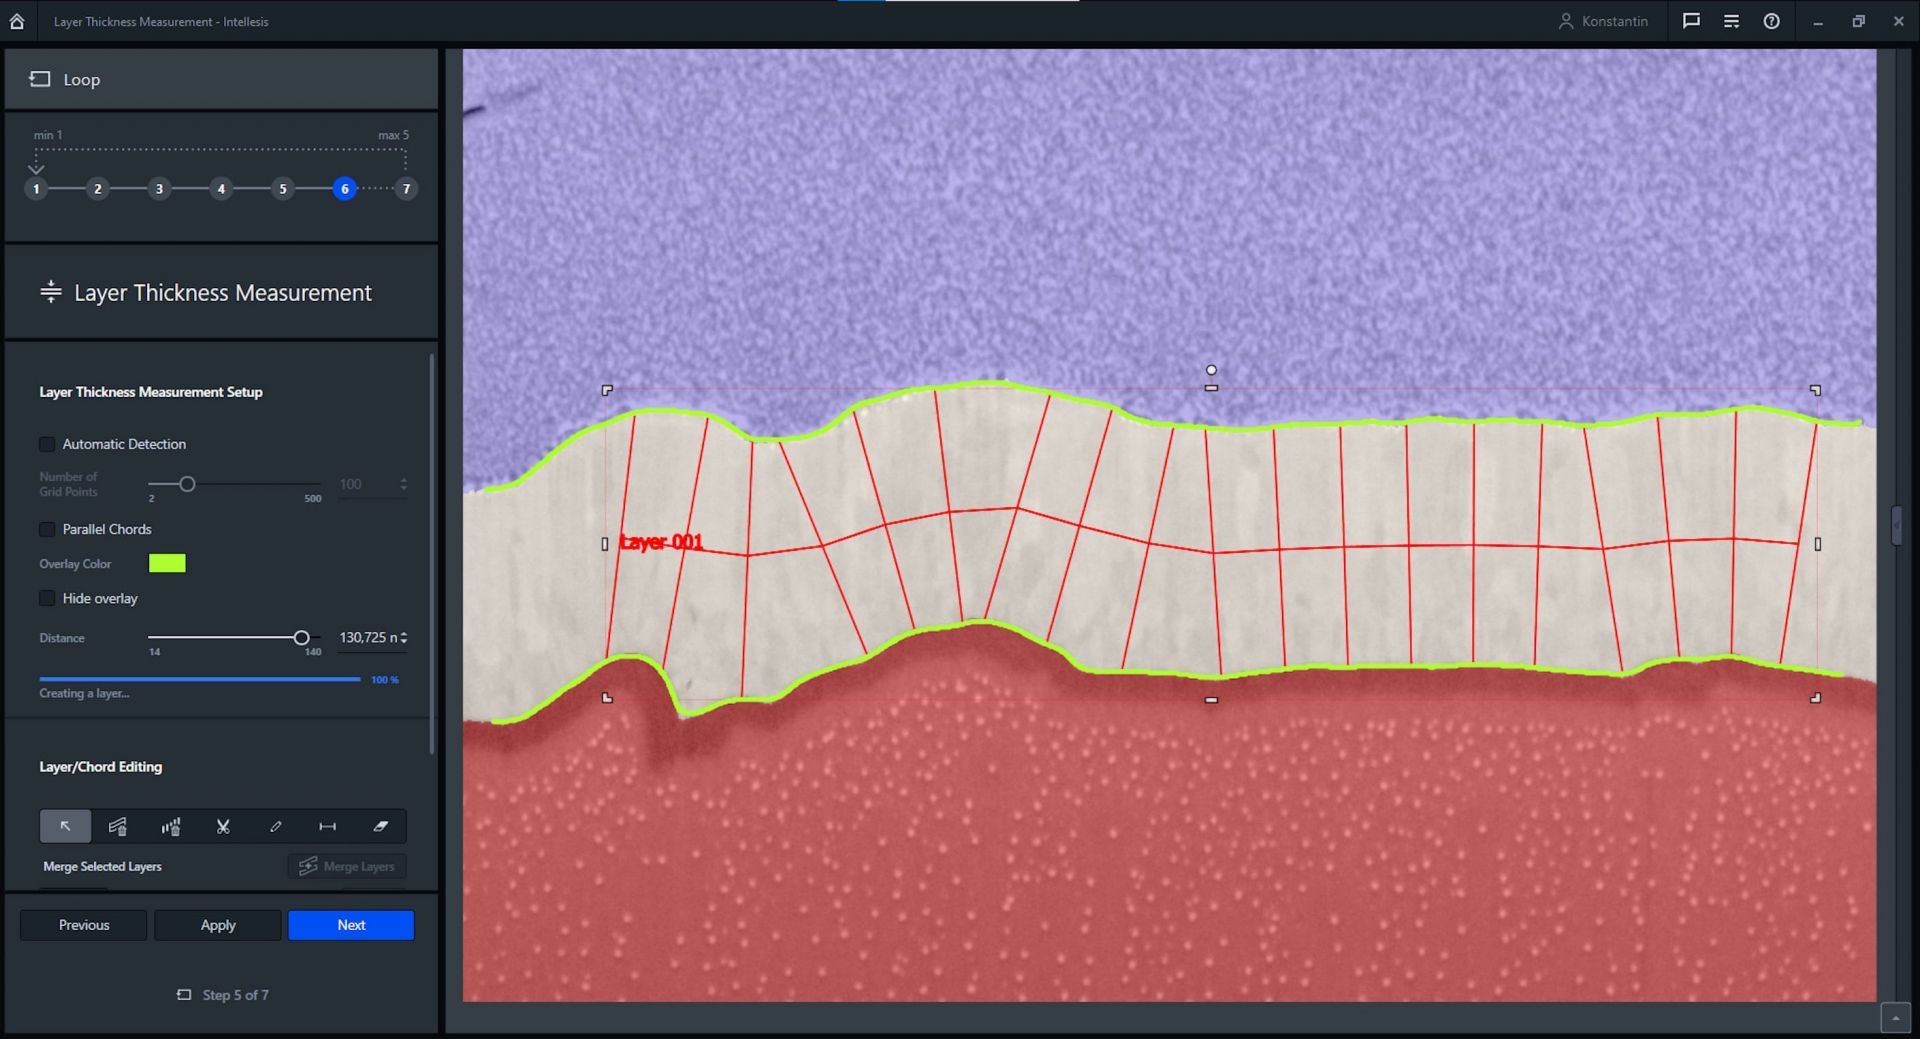
CIGS solar cells are thin-film cells based on a special semiconductor material. The different layer thicknesses of the cells have to be characterized in order to increase their efficiency. At first, cross sections are made with the electron microscope. The ZEISS ZEN core Intellesis module then exposes the distinct internal structures of the cells. Using a machine learning model, the software automatically detects and flags edges for layer thickness measurements, which will yield quantitative analyses.
