#HandsOnMetrology
Take it. Make it.
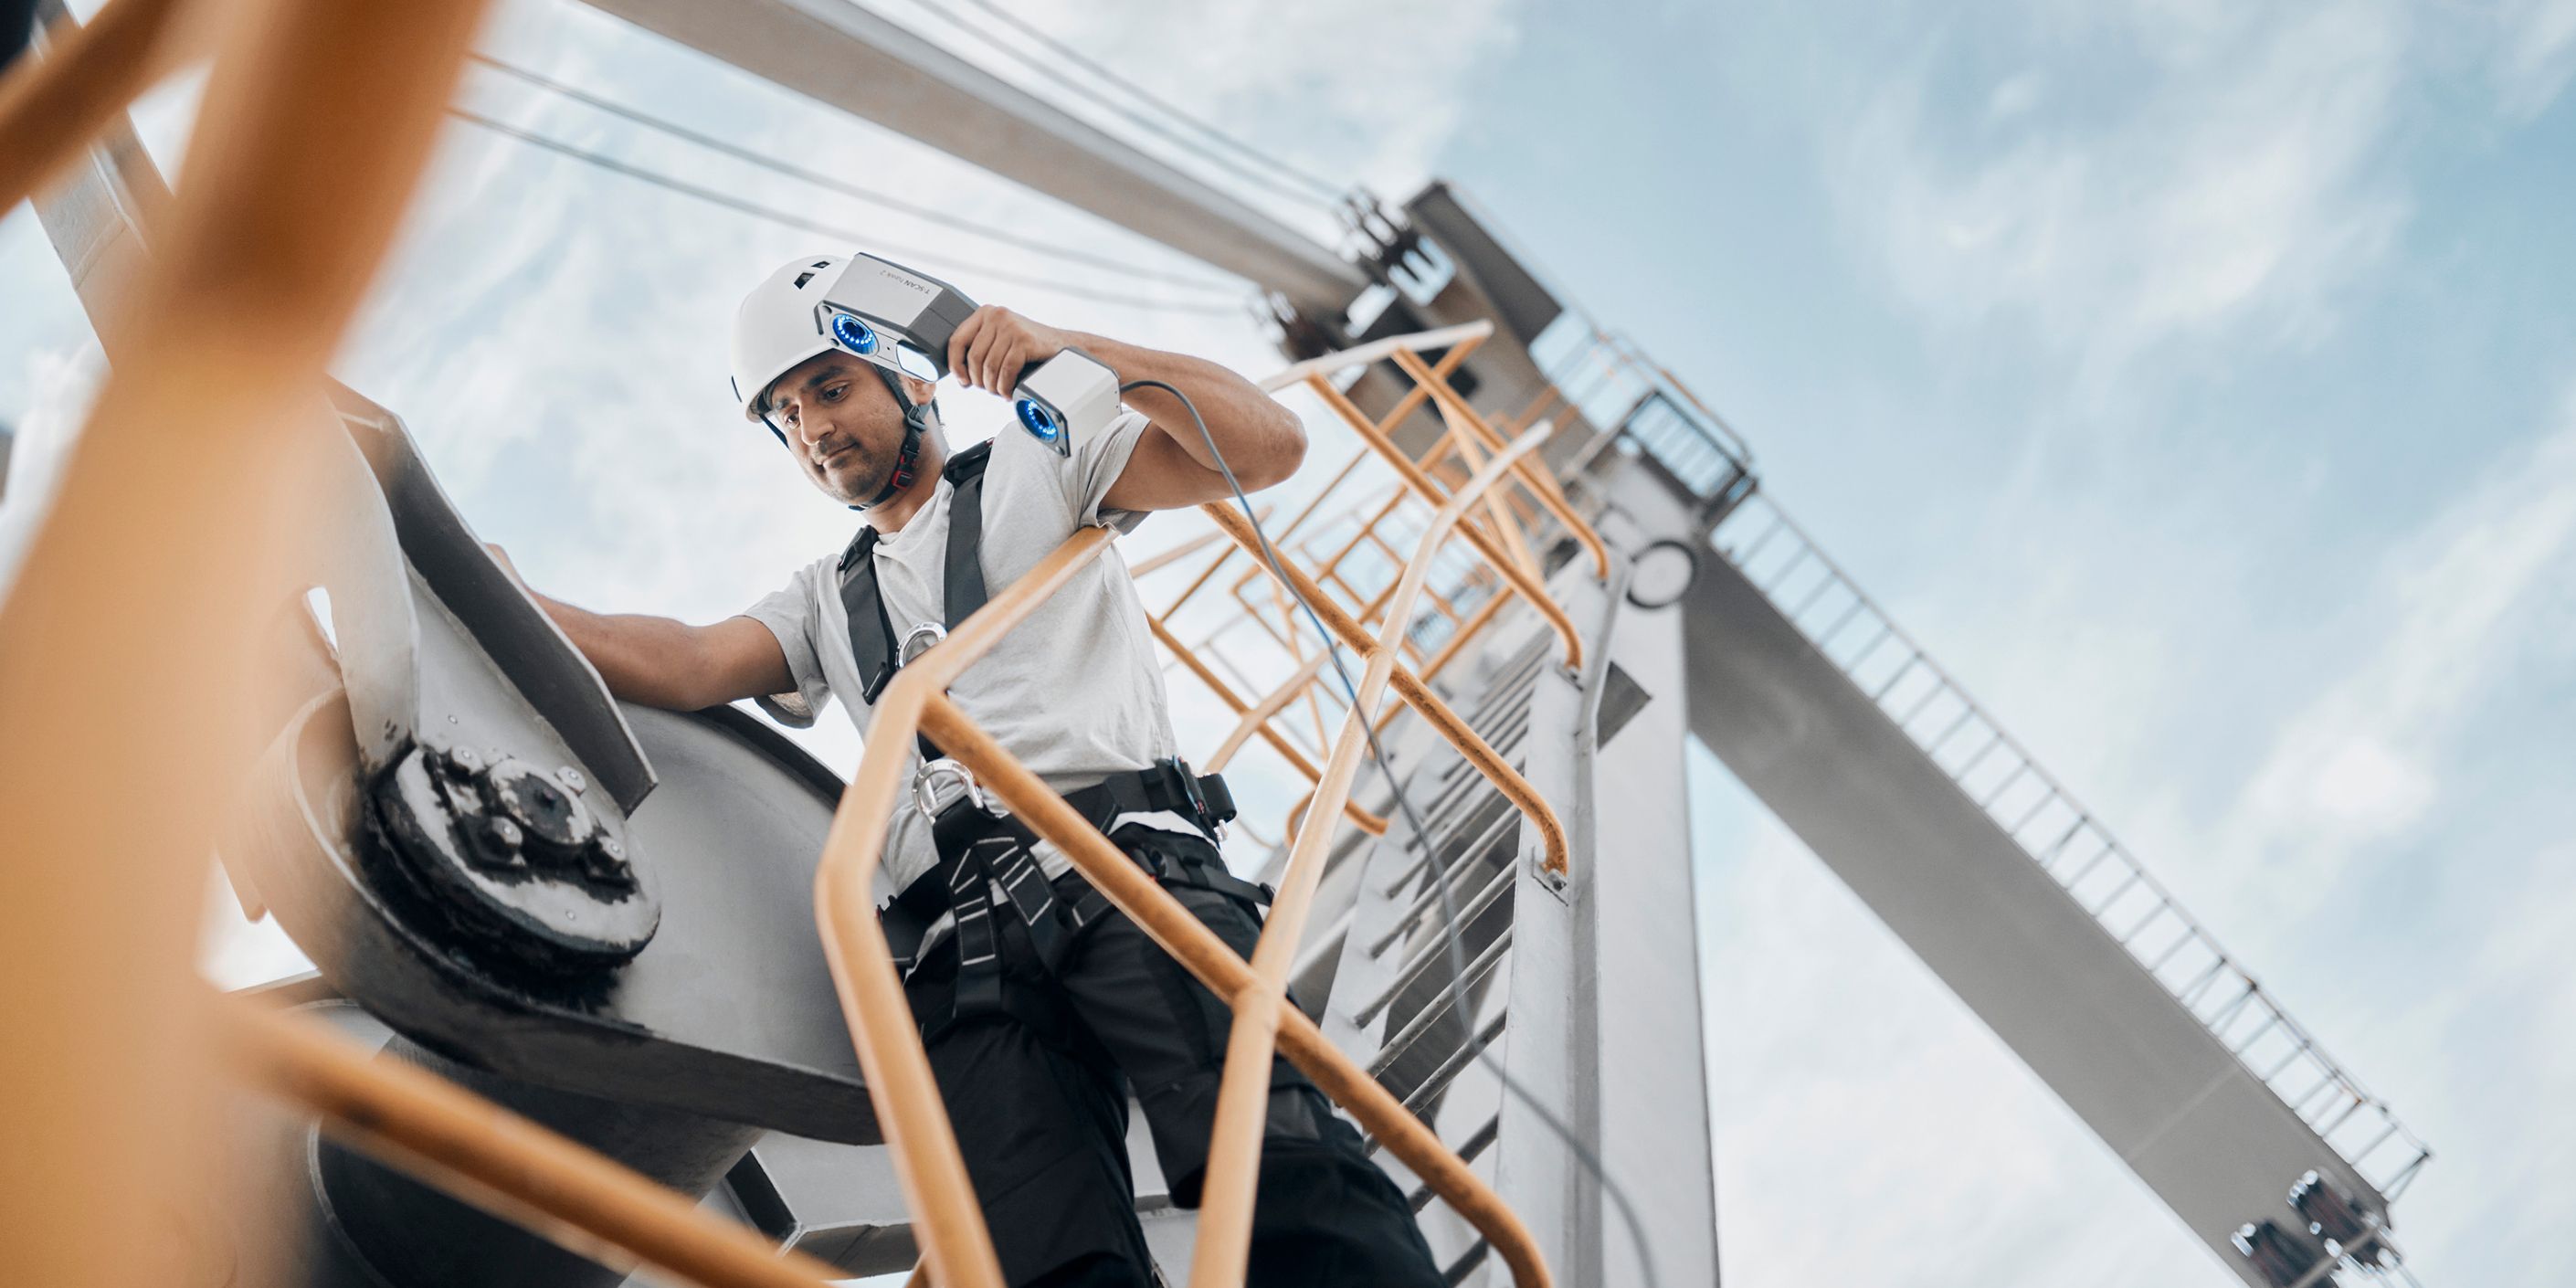
New ZEISS T-SCAN hawk 2
ZEISS T-SCAN hawk 2 is a lightweight, portable system that can be used across many applications and industries. A reliable tool to capture data with metrology-grade precision wherever needed: in maintenance, repair and overhaul, quality control or reverse engineering.
#HandsOnMetrology introduces the new ZEISS T-SCAN hawk 2 scanner, developed and produced in Germany and certified for the highest industry standards. T-SCAN hawk 2 is ready for industries like automotive, shipping and railway, aerospace or the energy sector. The laser scanner is strong on a wide range of materials and surfaces, delivering 3D measurement data with the highest precision.


Remarkably user-friendly
The new T-SCAN hawk 2 scanner comes with particularly simple and pleasant user guidance. Very intuitive to operate, it adapts easily to the movement of one’s hand, features a workflow assistant as well as the possibility to start and navigate the workflow directly. Users do not need to operate the software separately on their laptops anymore.
Introducing the new satellite mode
ZEISS T-SCAN hawk 2 is the first portable laser scanner with the new satellite mode, allowing users to scan objects up to multiple meters. There is no need for the classical built-in photogrammetry with coded markers and no compromise on accuracy. Another highlight is a red laser marker projected onto the components. This visual aid helps users to keep the perfect working distance while capturing data.
An easy switch between different tasks
Its advanced technology allows T-SCAN hawk 2 to deliver high-precision data in any situation and at any moment. Operating with a seamless adjustment for resolution and field of view, it does the job, even in confined spaces or hard-to-reach areas. Indoors or outdoors, the new 3D laser scanner travels in just one case, keeping everything at hand.
Get your hands on the latest tech
#HandsOnMetrology focuses on new-to-the-market 3D systems – naturally as a full package with the ZEISS Quality Suite for inspection and reverse engineering tasks. In addition to the T-SCAN hawk 2, the platform offers the right system for every challenge. The compact and portable GOM Scan 1 3D scanner is versatile and fast. The sensor uses industrial standards such as fringe projection technology and Blue Light Technology to ensure detailed and accurate 3D meshes. The precise, flexible and reliable ATOS Q 3D scanner was designed specifically for industrial purposes and complex measurement and inspection tasks. Its Triple Scan Principle is ideal for measuring reflective surfaces and rough objects. To learn more, follow #HandsOnMetrology.
#HandsOnMetrology
is a unique platform that connects technology enthusiasts, designers, engineers, scientists and experts around the world. The platform provides exciting insights into the modern world of metrology.
Be it scanning or CAD, interested newbies and users learn everything they need to know to realize their ideas, optimize processes, get inspiration or talk shop about new 3D metrology applications. In inspiring and informative maker videos, makers from the community talk about 3D metrology and how they use it for all kinds of projects.
