Automation
Measuring like clockwork
In the age of Industry 4.0, intelligent automation technology has become a part of manufacturing – and demand is growing. Using automated optical 3D measuring technology in the production process has significant advantages, including the ability to identify problems with parts more quickly. This reduces rework and scrap, which results in lower costs and higher quality.
ATOS ScanBox: automation solutions for all needs
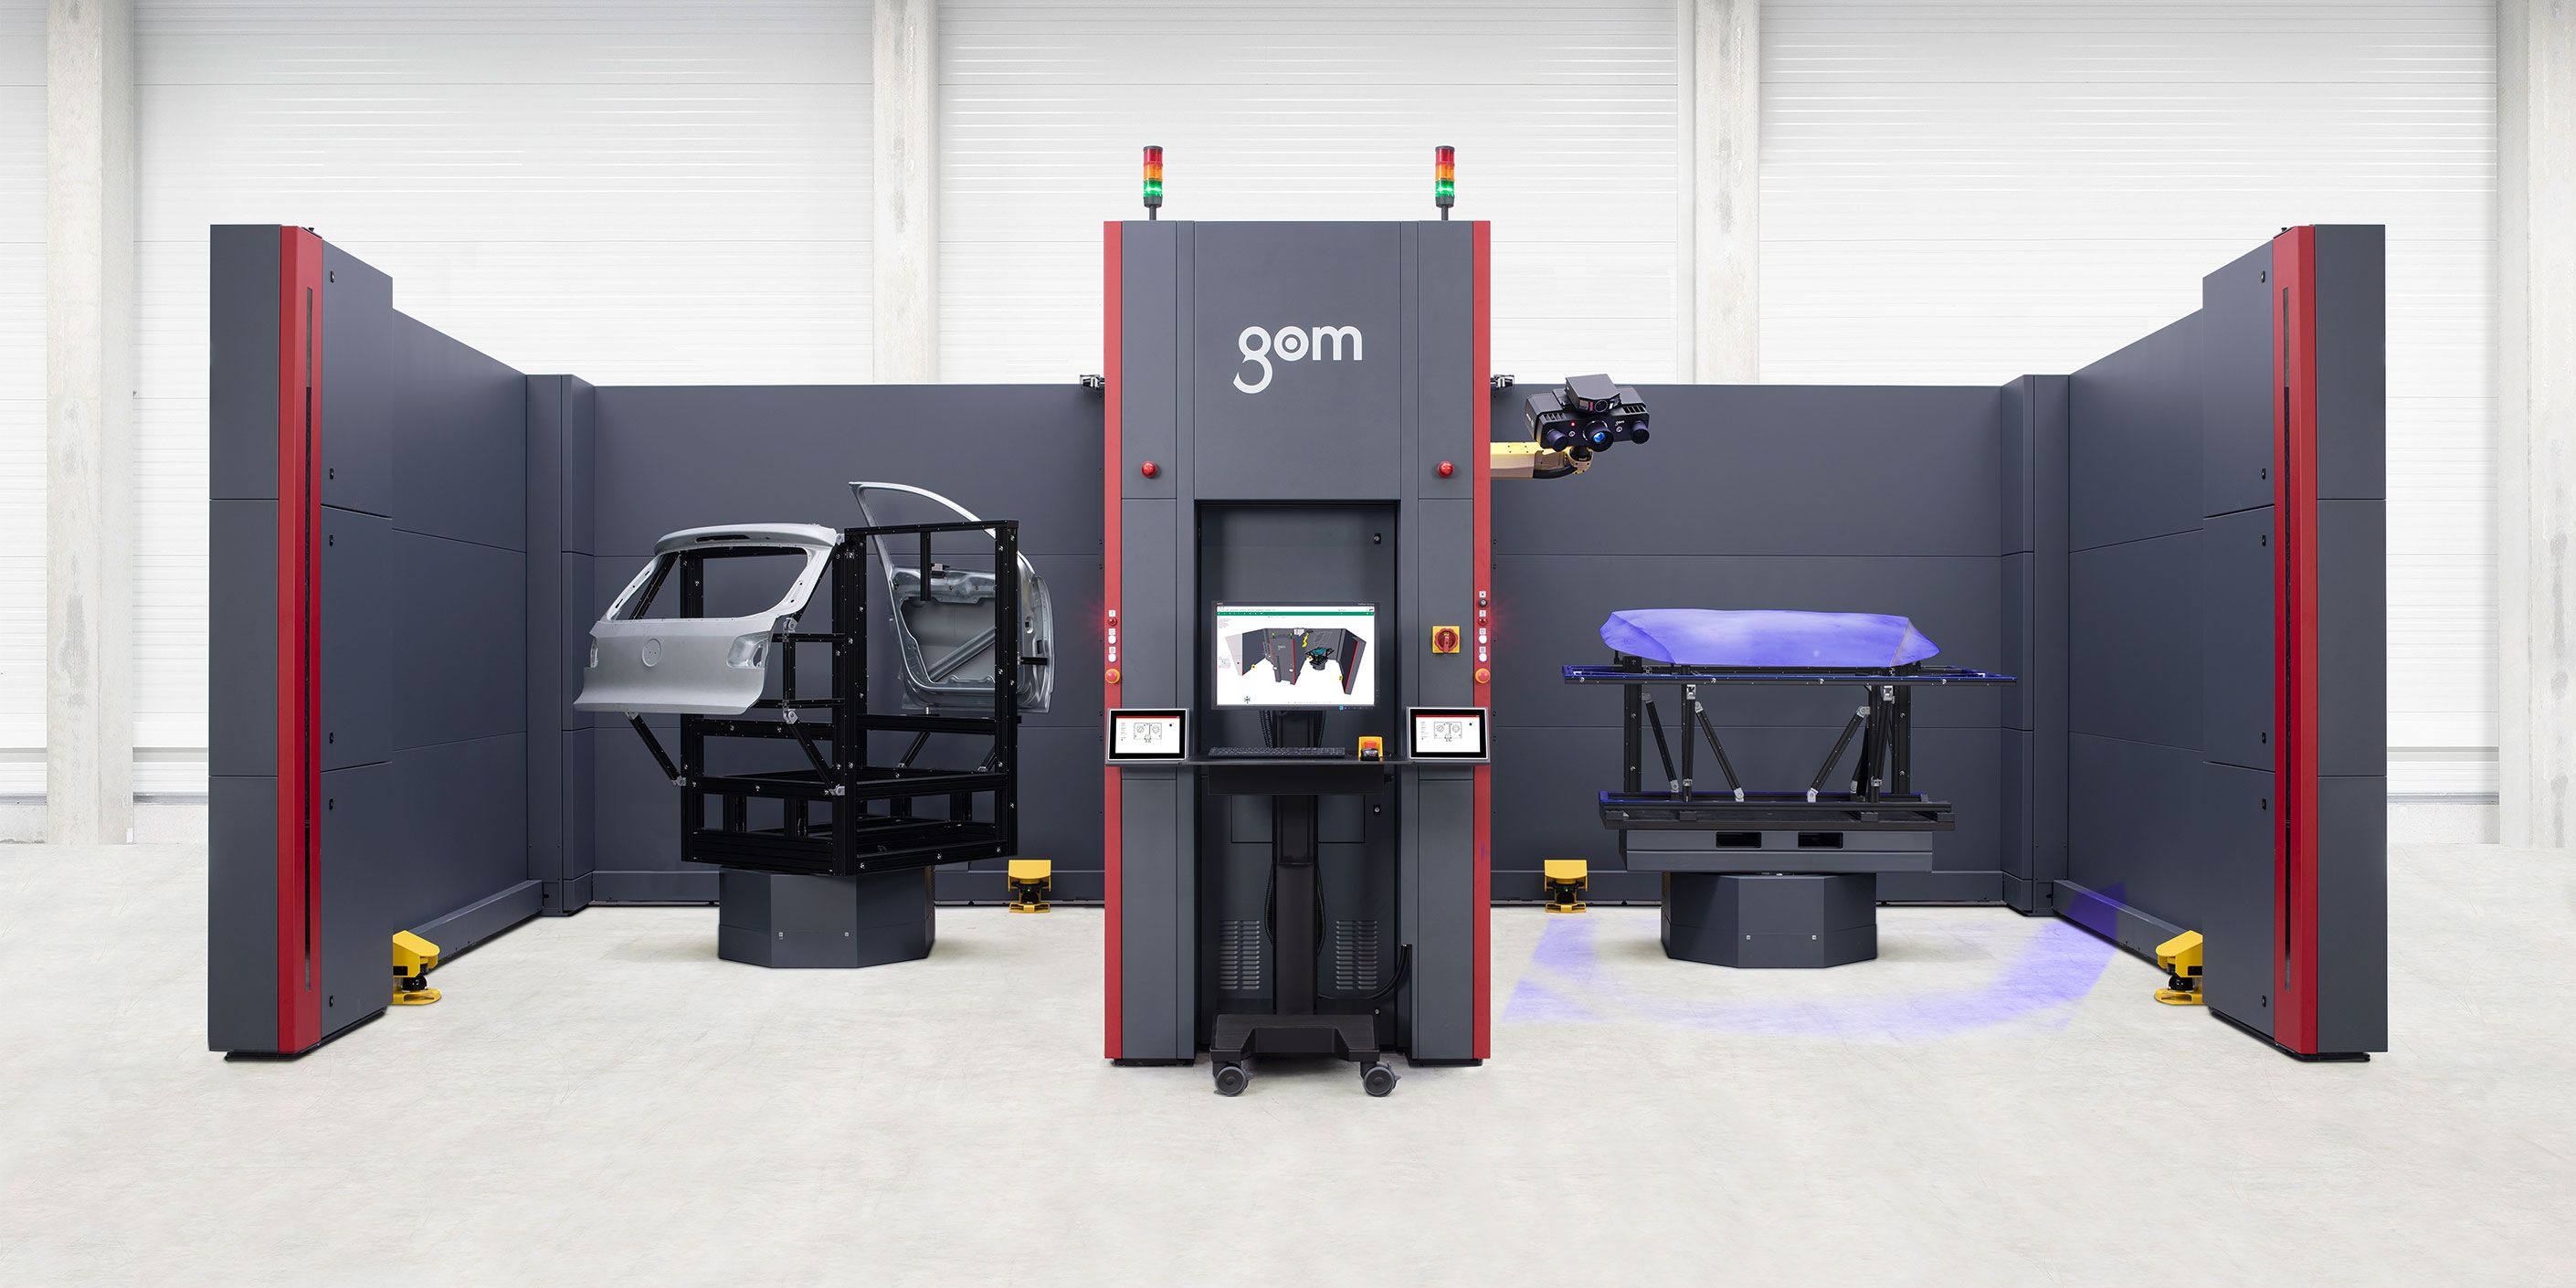
The ATOS ScanBox is a complete optical 3D coordinate measuring machine that is used for efficient quality control in production and manufacturing processes. The system provides a wide range of automated solutions and is suitable for any application. GOM offers a variety of systems which measure all kinds of parts – whether small and complex, large and heavy or long and wide. A mobile ATOS ScanBox or a model for very high throughput with two working areas accomodate any type of customer need. All three types of standard parts (doors, hoods and trunk lids) used in car body manufacturing can be clamped in GOM's multi-part fixture. An ATOS ScanBox with automatic loading and unloading completes the comprehensive range.
Dr. Carsten Reich
Dr. Carsten Reich began his career at GOM in Business Development Europe in 1999 and went on to work in this field for several years. Since 2009, he has been managing the Automation division, where he develops automation solutions for optical 3D measuring technology alongside his team.
Trend towards production – integrated measuring technology
According to Dr. Carsten Reich, Director Automation, there is currently a clear trend developing in the field of automated measuring technology: “Metrology should be taken out of isolated measuring rooms and integrated into production processes. This prevents parts from inefficiently wandering the factories, which in turn shortens response times in the event of production problems.” High measuring speed is also a crucial factor: “Every minute that passes means more parts are being scrapped, which involves costly reworking processes.”
Higher throughput in production
Compared to a traditional, tactile coordinate measuring system, the measuring and inspection speed of a component can be more than halved with the ATOS ScanBox. This is all thanks to the robots that move the 3D scanner around the part. “Retrofitting fixtures is yet another time-wasting factor in production processes. This is why GOM has developed the ATOS ScanBox, which can load and measure at the same time,” Reich says. This significantly reduces downtime in the measuring system.
ATOS ScanBox in the assembly line monitors production processes and part quality
To fully automate the loading process, the measuring system is expected to be fully integrated into the production line in the near future. According to Reich, the ATOS ScanBox is precise and traceable compared to standard optical inline measuring systems. “As a result, the measuring system not only monitors the production process, it also comprehensively assesses the quality of the parts.” The full-field optical measuring technology is particularly useful, as it offers targeted analysis and rectification of any deviations between the complete 3D actual coordinates and the CAD data.

High-speed technology: ATOS 5X
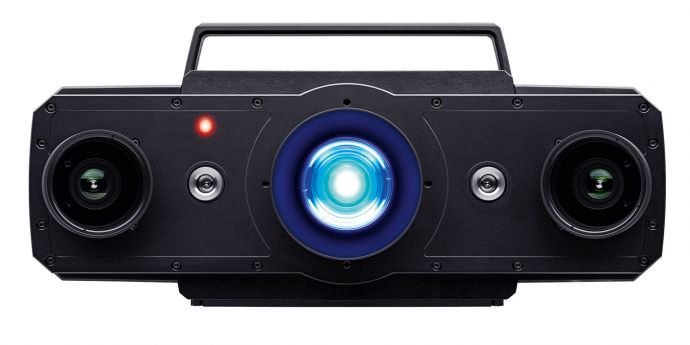
ATOS 5X uses the integrated Laser Light Compressor to generate ultra-bright light. This allows for the measurement of areas of up to 1,000 mm and at the same time extremely short exposure times. Acquisition times of 0.2 seconds can be reached.
Learn more about the ATOS 5X
Learn more about the ATOS ScanBox
https://www.gom.com/metrology-systems/atos-scanbox.html
