ATOS Core
Optical 3D metrology in 3D metal printing
Optical 3D scanner ATOS Core for quality control and reverse engineering
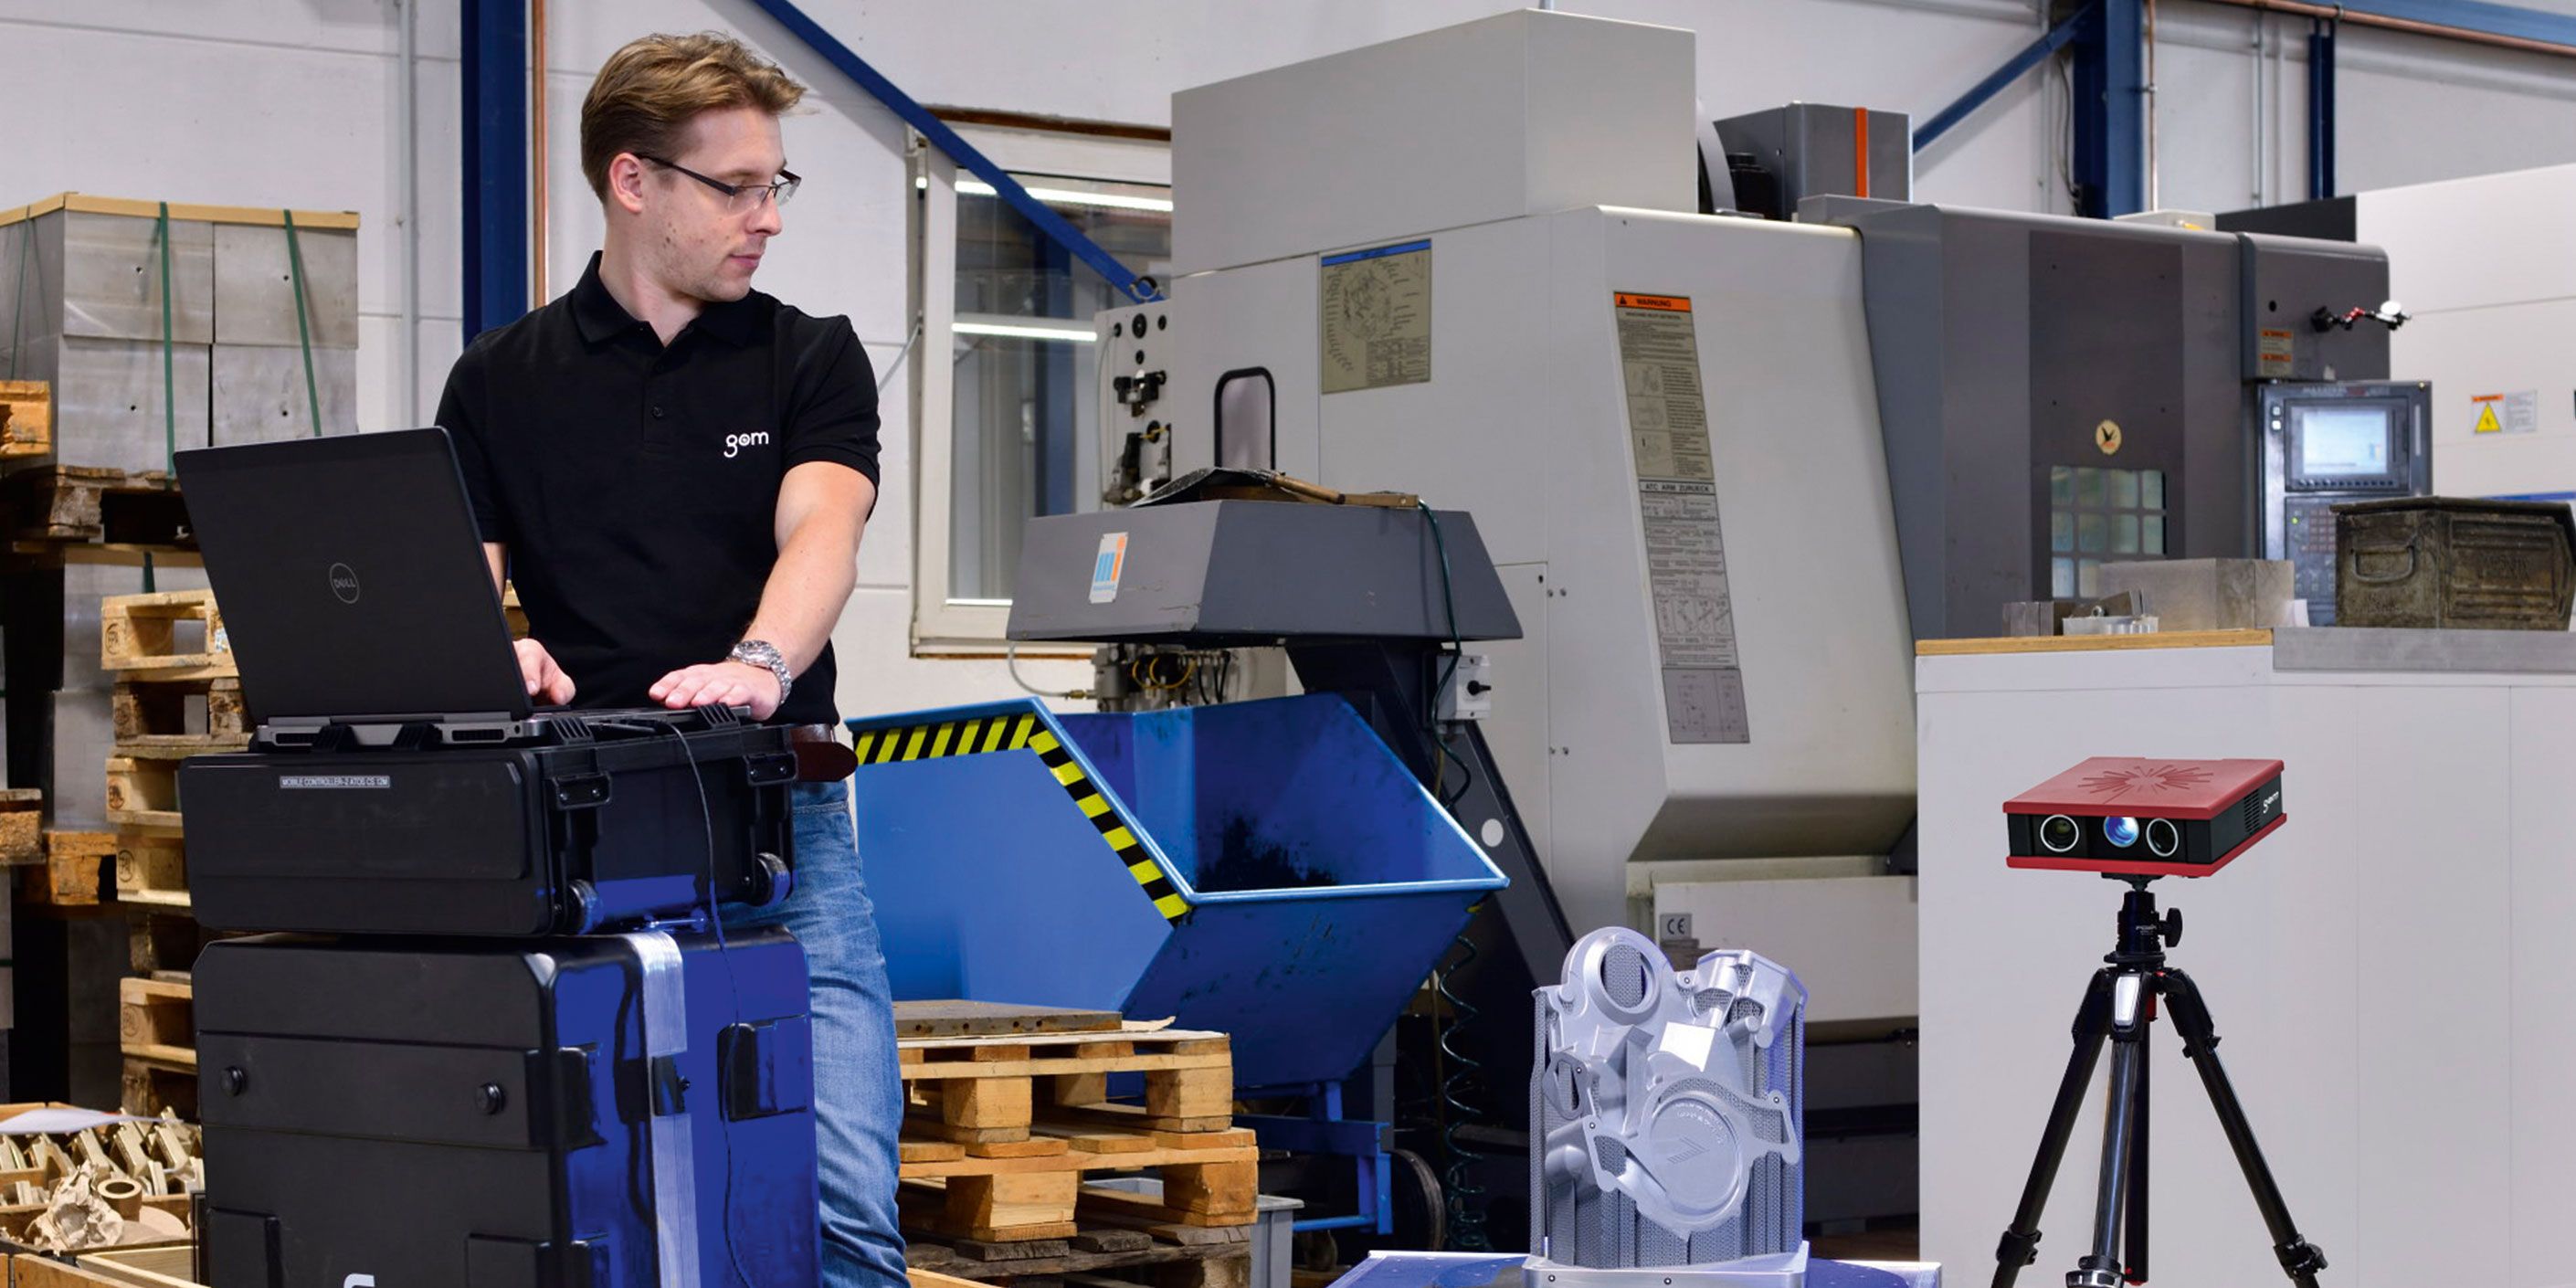
The ATOS Core is used to take 3D measurements of small and medium-sized objects, such as ceramic cores, cast parts or plastic parts. The sensor is also vital for several measuring tasks – from simple 3D scans to fully automated measuring and inspection processes.
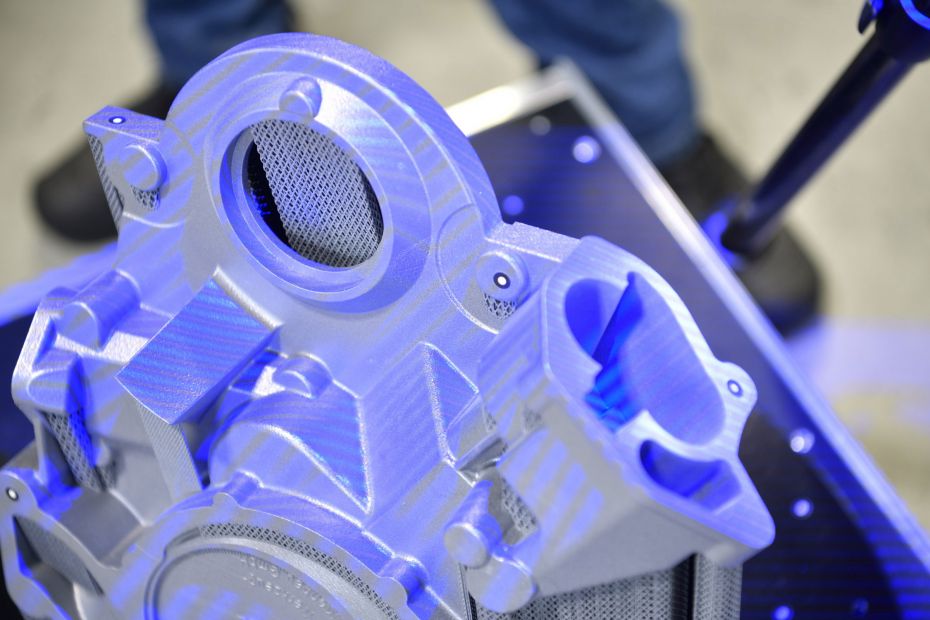
In partnership with Rolf Lenk Werkzeug- und Maschinenbau GmbH, the ATOS Core optical 3D scanner is used in additive manufacturing processes. This toolmaking and mechanical engineering company based in Ahrensburg near Hamburg, Germany, also lists 3D printing among its fields of expertise. The 3D scanner was used for measuring an engine front cover of a 1967 Cadillac Eldorado, which was printed in 3D.
Exact adherence to geometric dimensions plays an important role in making parts by using 3D printing. This means that the shrinkage and warping caused by the additive manufacturing process have to be counteracted. This is where optical geometry measurement comes in – it is used to check for any existing deviations. Any parameter fluctuations identified during the manufacturing process must be recorded precisely. While manufacturing the engine front cover in 3D at Rolf Lenk, GOM technology made sure that an exact replica of the original could be produced and any geometric variations could be identified and corrected during the process.
Optical measuring technology allows companies to play a supporting role throughout the entire additive manufacturing process. This starts off with capturing the components' geometry and any deviations due to warping and shrinkage through to inspecting the finished part. Compared to standard measuring technology, the process of optical acquisition of measured data also has advantages when measuring complex geometries. More specifically, any deviations in freeform surfaces can be quickly identified.

Learn more about ATOS Core
https://www.gom.com/metrology-systems/atos/atos-core.html
