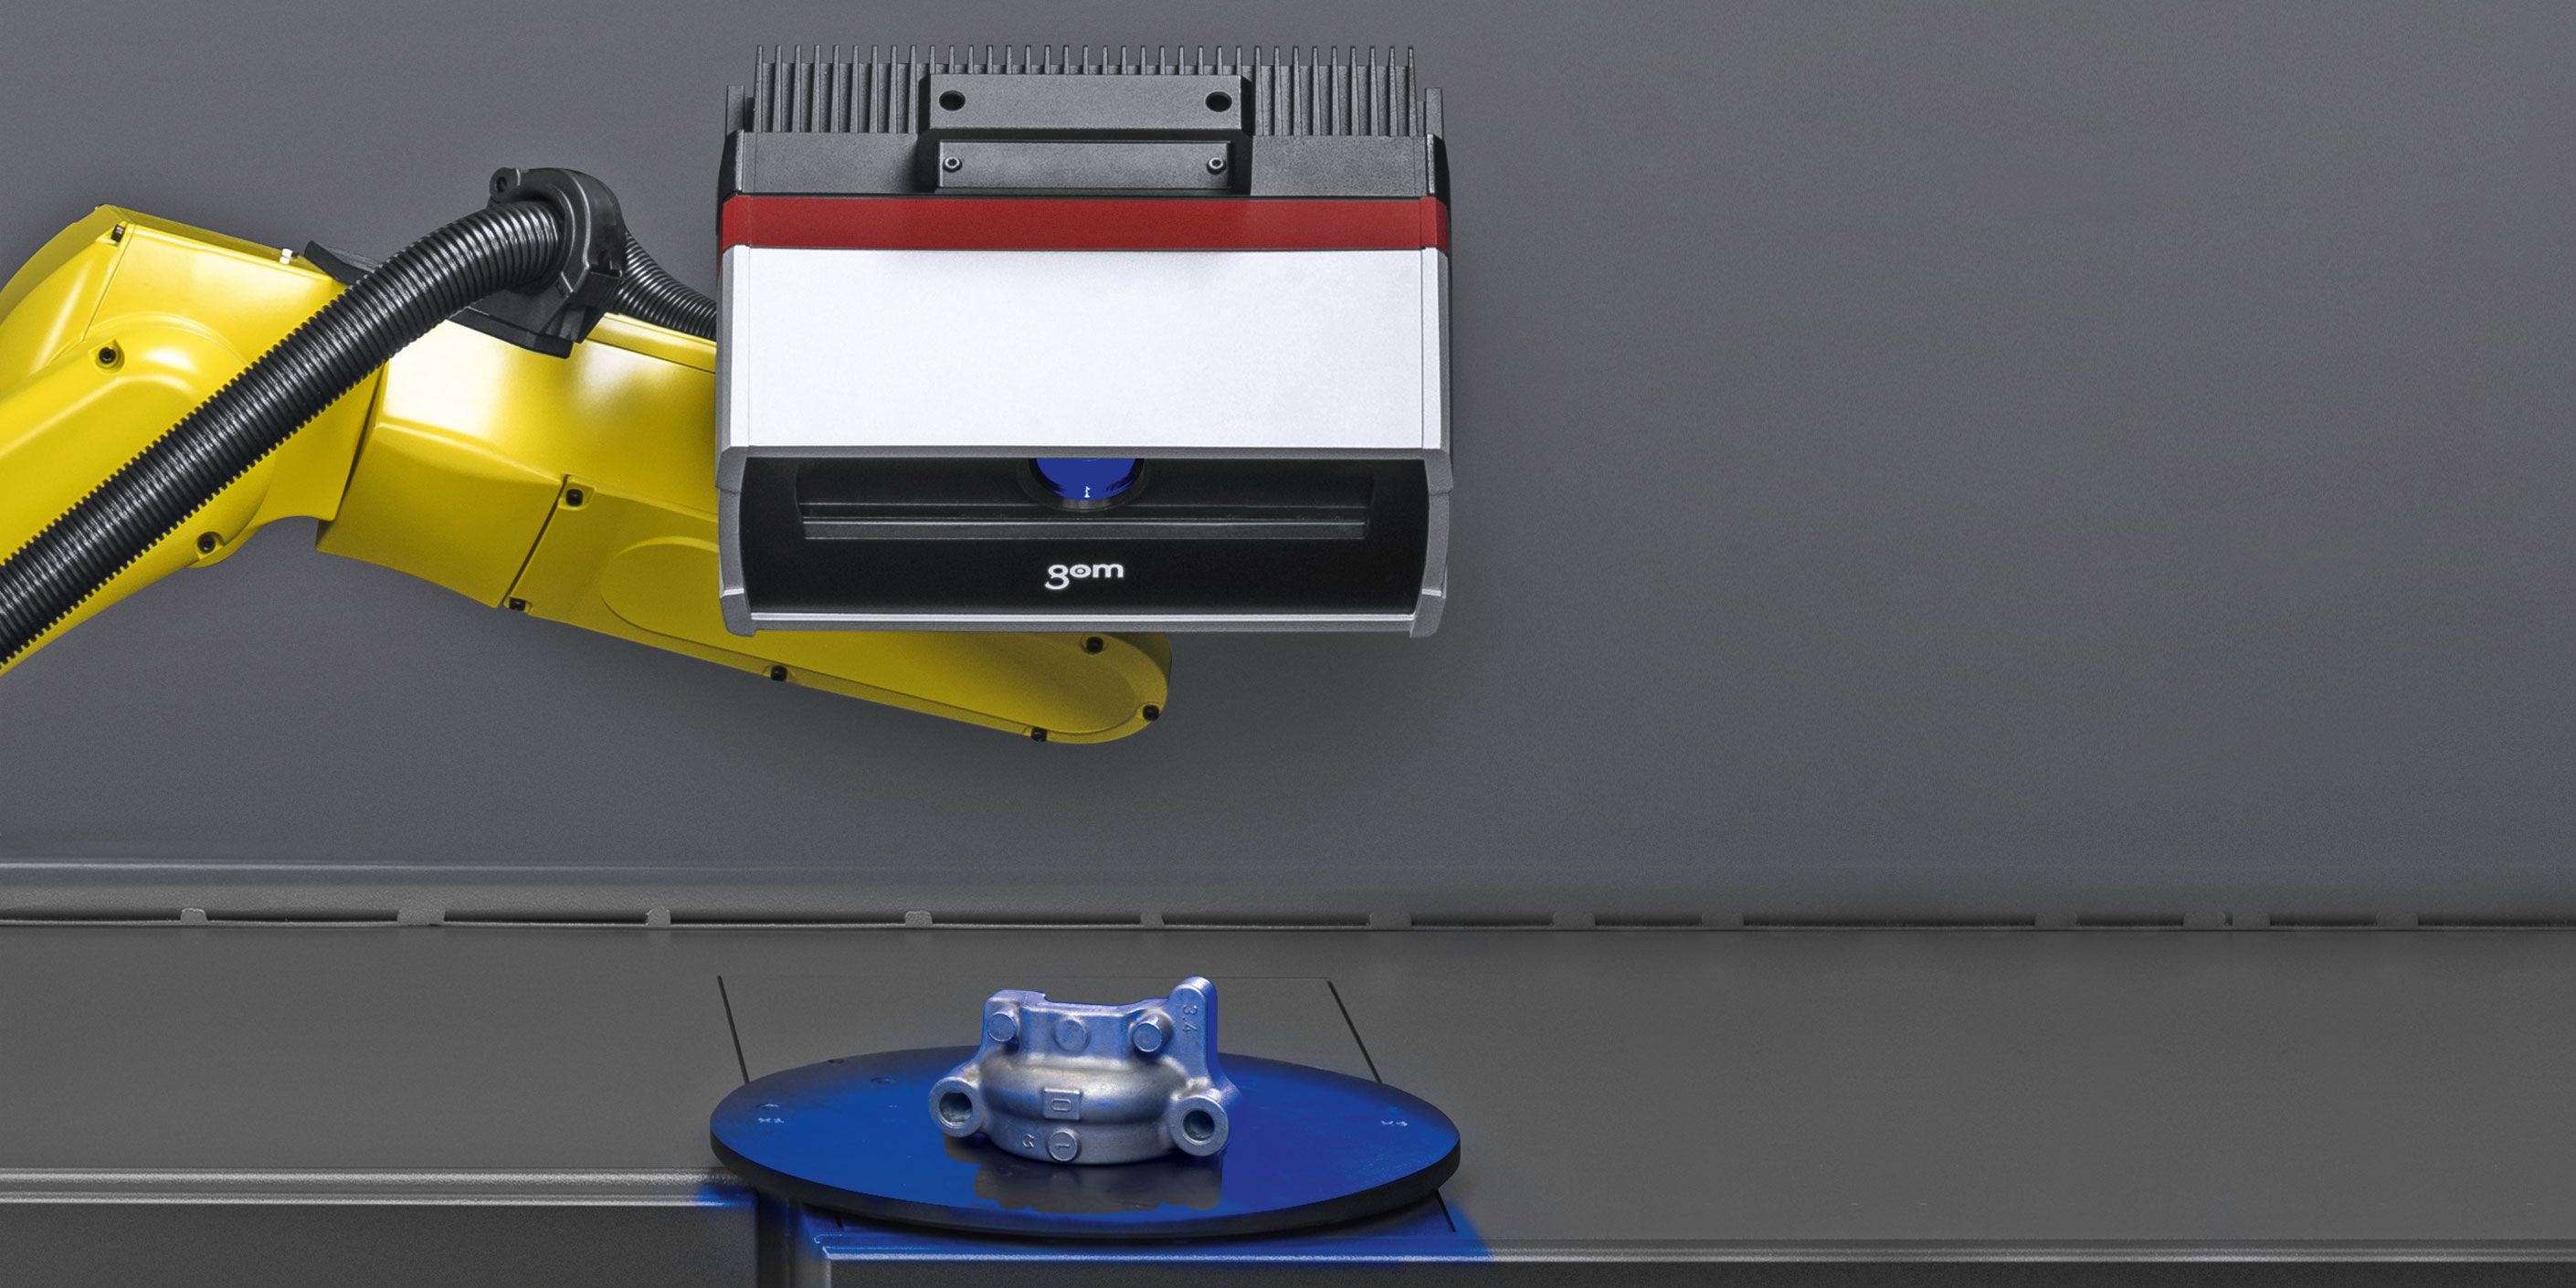
ATOS Capsule
Seeing the bigger picture
The optical precision measuring machine ATOS Capsule now offers a measuring area for microcomponents.
Microinjection-molded components have become increasingly important in information and communication technology, medical technology and the automotive industry. GOM has reacted to this with a new measuring area for ATOS Capsule, adapted to very small structures, which is able to resolve structures in the range of 10 µm.
Microsystems technology is changing products across many different industries. The tiny components are appreciated for their long-lasting and light-weight properties, which make them ideal for reflectors in cars. Microscopic material quantities, filigree structures and high-precision requirements place special demands on the design, manufacture and, consequently, the component testing of these small parts. The high-precision ATOS Capsule sensor responds to these needs through a precision design that offers excellent support.
ATOS Capsule is now available in two versions with different levels of detail, and captures 8 or 12 million points per scan. The interchangeable measuring areas for this sensor cover different component sizes. Due to this flexibility, the system has been successfully used for years in the acquisition and inspection of contoured component geometries of small to medium-sized components. Thanks to its housing design, ATOS Capsule offers outstanding process stability for automated applications in quality assurance during series production.
ATOS Capsule
Flexible: suitable for mobile use as well as compatible with the standardized ATOS ScanBox
Robust: protected by a special casing against dust and splashes
Intuitive: for users without robotics knowledge, the Virtual Measuring Room (VMR) simulates the real environment
Learn more about ATOS Capsule
https://www.gom.com/metrology-systems/atos/atos-capsule.html
