ATOS family
A powerful trio
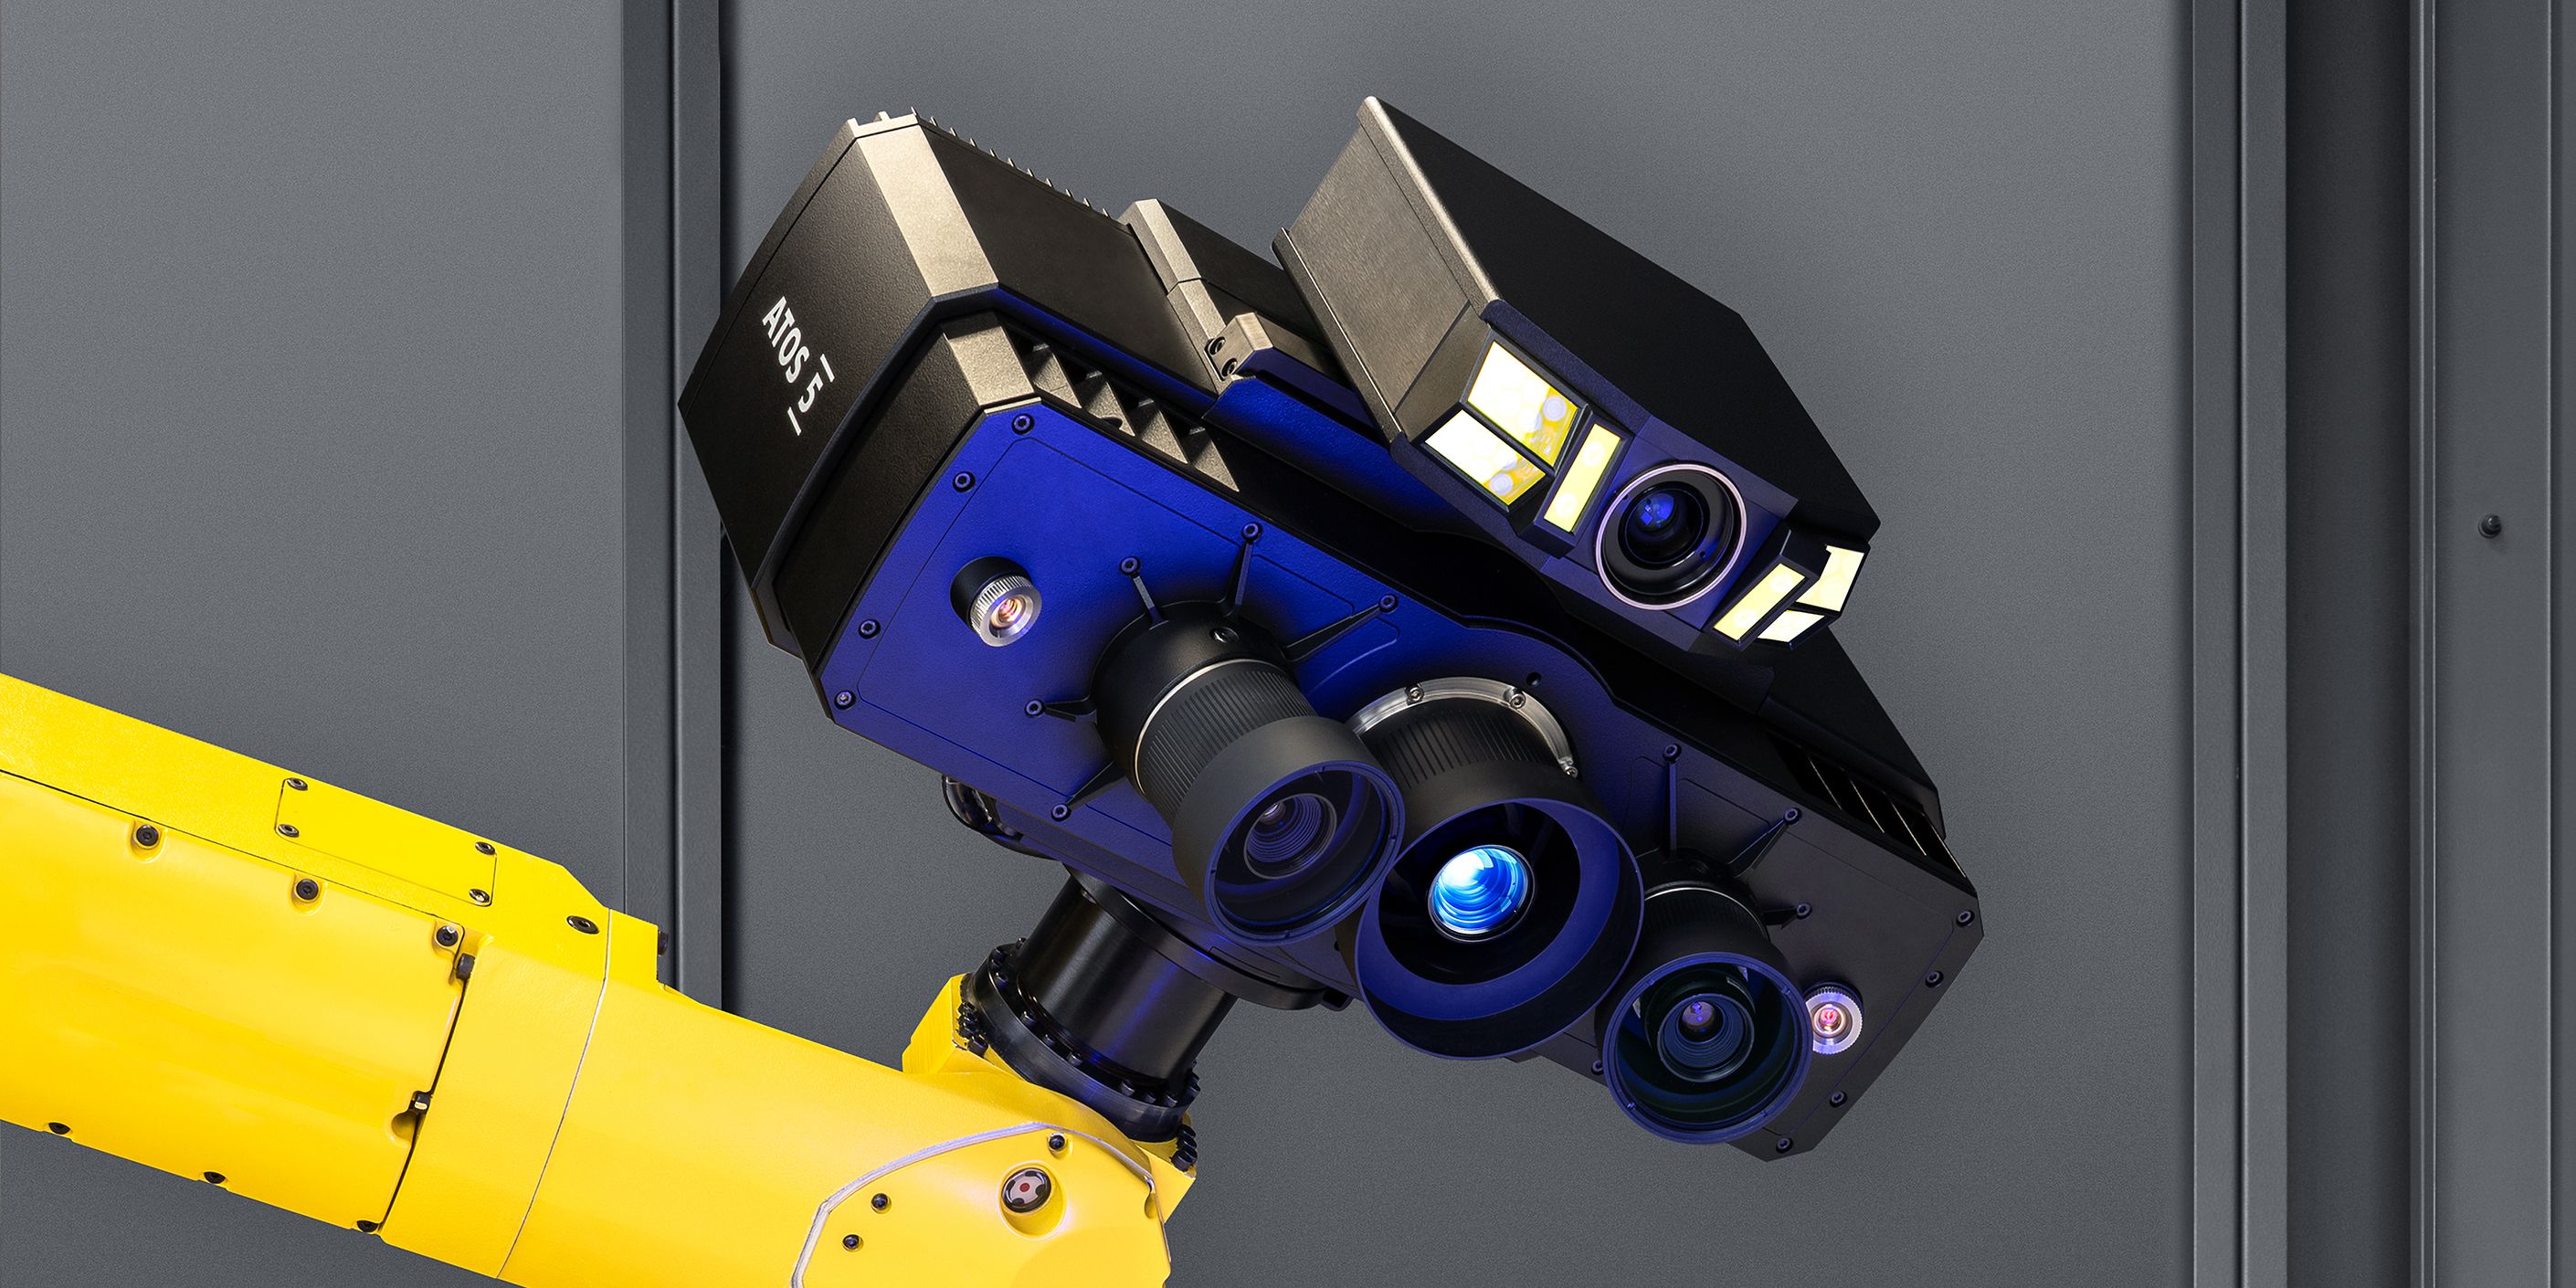
High-precision optoelectronics, powerful software, and the signature blue-light projection make GOM’s industrial 3D scanners very attractive. Metrology engineers who work with ATOS enjoy cutting-edge technology. ATOS 5 for Airfoil is a new addition to the ATOS family. The system is used to inspect turbine blades in the aerospace industry.
The ATOS 5 product family

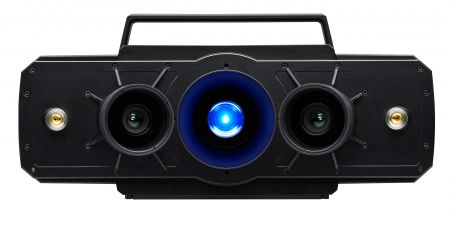
ATOS 5 for Airfoil
Precise scanning of the smallest details
- Light source
- LED
- Measuring points per scan
- 12 M
- Working distance
- 530 mm

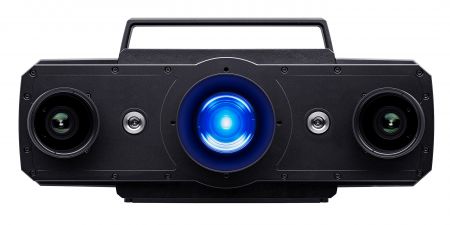
ATOS 5
High-speed 3D scanning system
- Light source
- LED
- Measuring points per scan
- 8 M or 12 M
- Working distance
- 880 mm

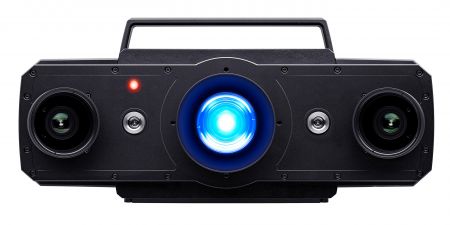
ATOS 5X
Automated scanning for large volumes
- Light source
- Laser
- Measuring points per scan
- 12 M
- Working distance
- 880 mm
Hardware and software go hand in hand
The strength of the ATOS 5 systems lies in the combination of advanced hardware and intelligent GOM software. All models deliver high-precision, high-resolution scans at high speed. GOM Inspect uses this data to produce a digital twin of the actual part, which serves as a basis for inspection, analysis, adaptive machining, simulation, and reverse engineering. The product family includes ATOS 5 for various metrology tasks with measuring areas from 170 mm² to 1,000 mm² and ATOS 5X with its ultrabright laser light source for automated scanning of large measuring areas. The newest member, ATOS 5 for Airfoil, is the ideal measuring system for turbine airfoils.
A love of detail: ATOS 5 for Airfoil
The production, maintenance, and repair of gas turbine parts involve small manufacturing tolerances. With its optimized working distance and measuring areas from 100 × 70 mm², ATOS 5 for Airfoil delivers high-precision 3D data, for both manual and automated applications. Companies benefit from significantly shorter measuring times compared with conventional coordinate measuring machines. The system digitizes a fan blade in approximately 15 minutes and a complex blisk in about 2 hours.
Virtual possibilities
Digitization supplies 3D data for a detailed analysis in GOM Inspect. One data set can be used for any number of virtual alignments and to carry out various analyses, including sections. In addition, the software has functions for virtual assembly and the visualization and analysis of surface defects. It also contains design engineering tools for in-house inspection principles.
Learn more about ATOS 5
