Automotive
On the move with ARAMIS
Dynamic full-vehicle test stand analyses – thanks to the flexibility and speed of ARAMIS.
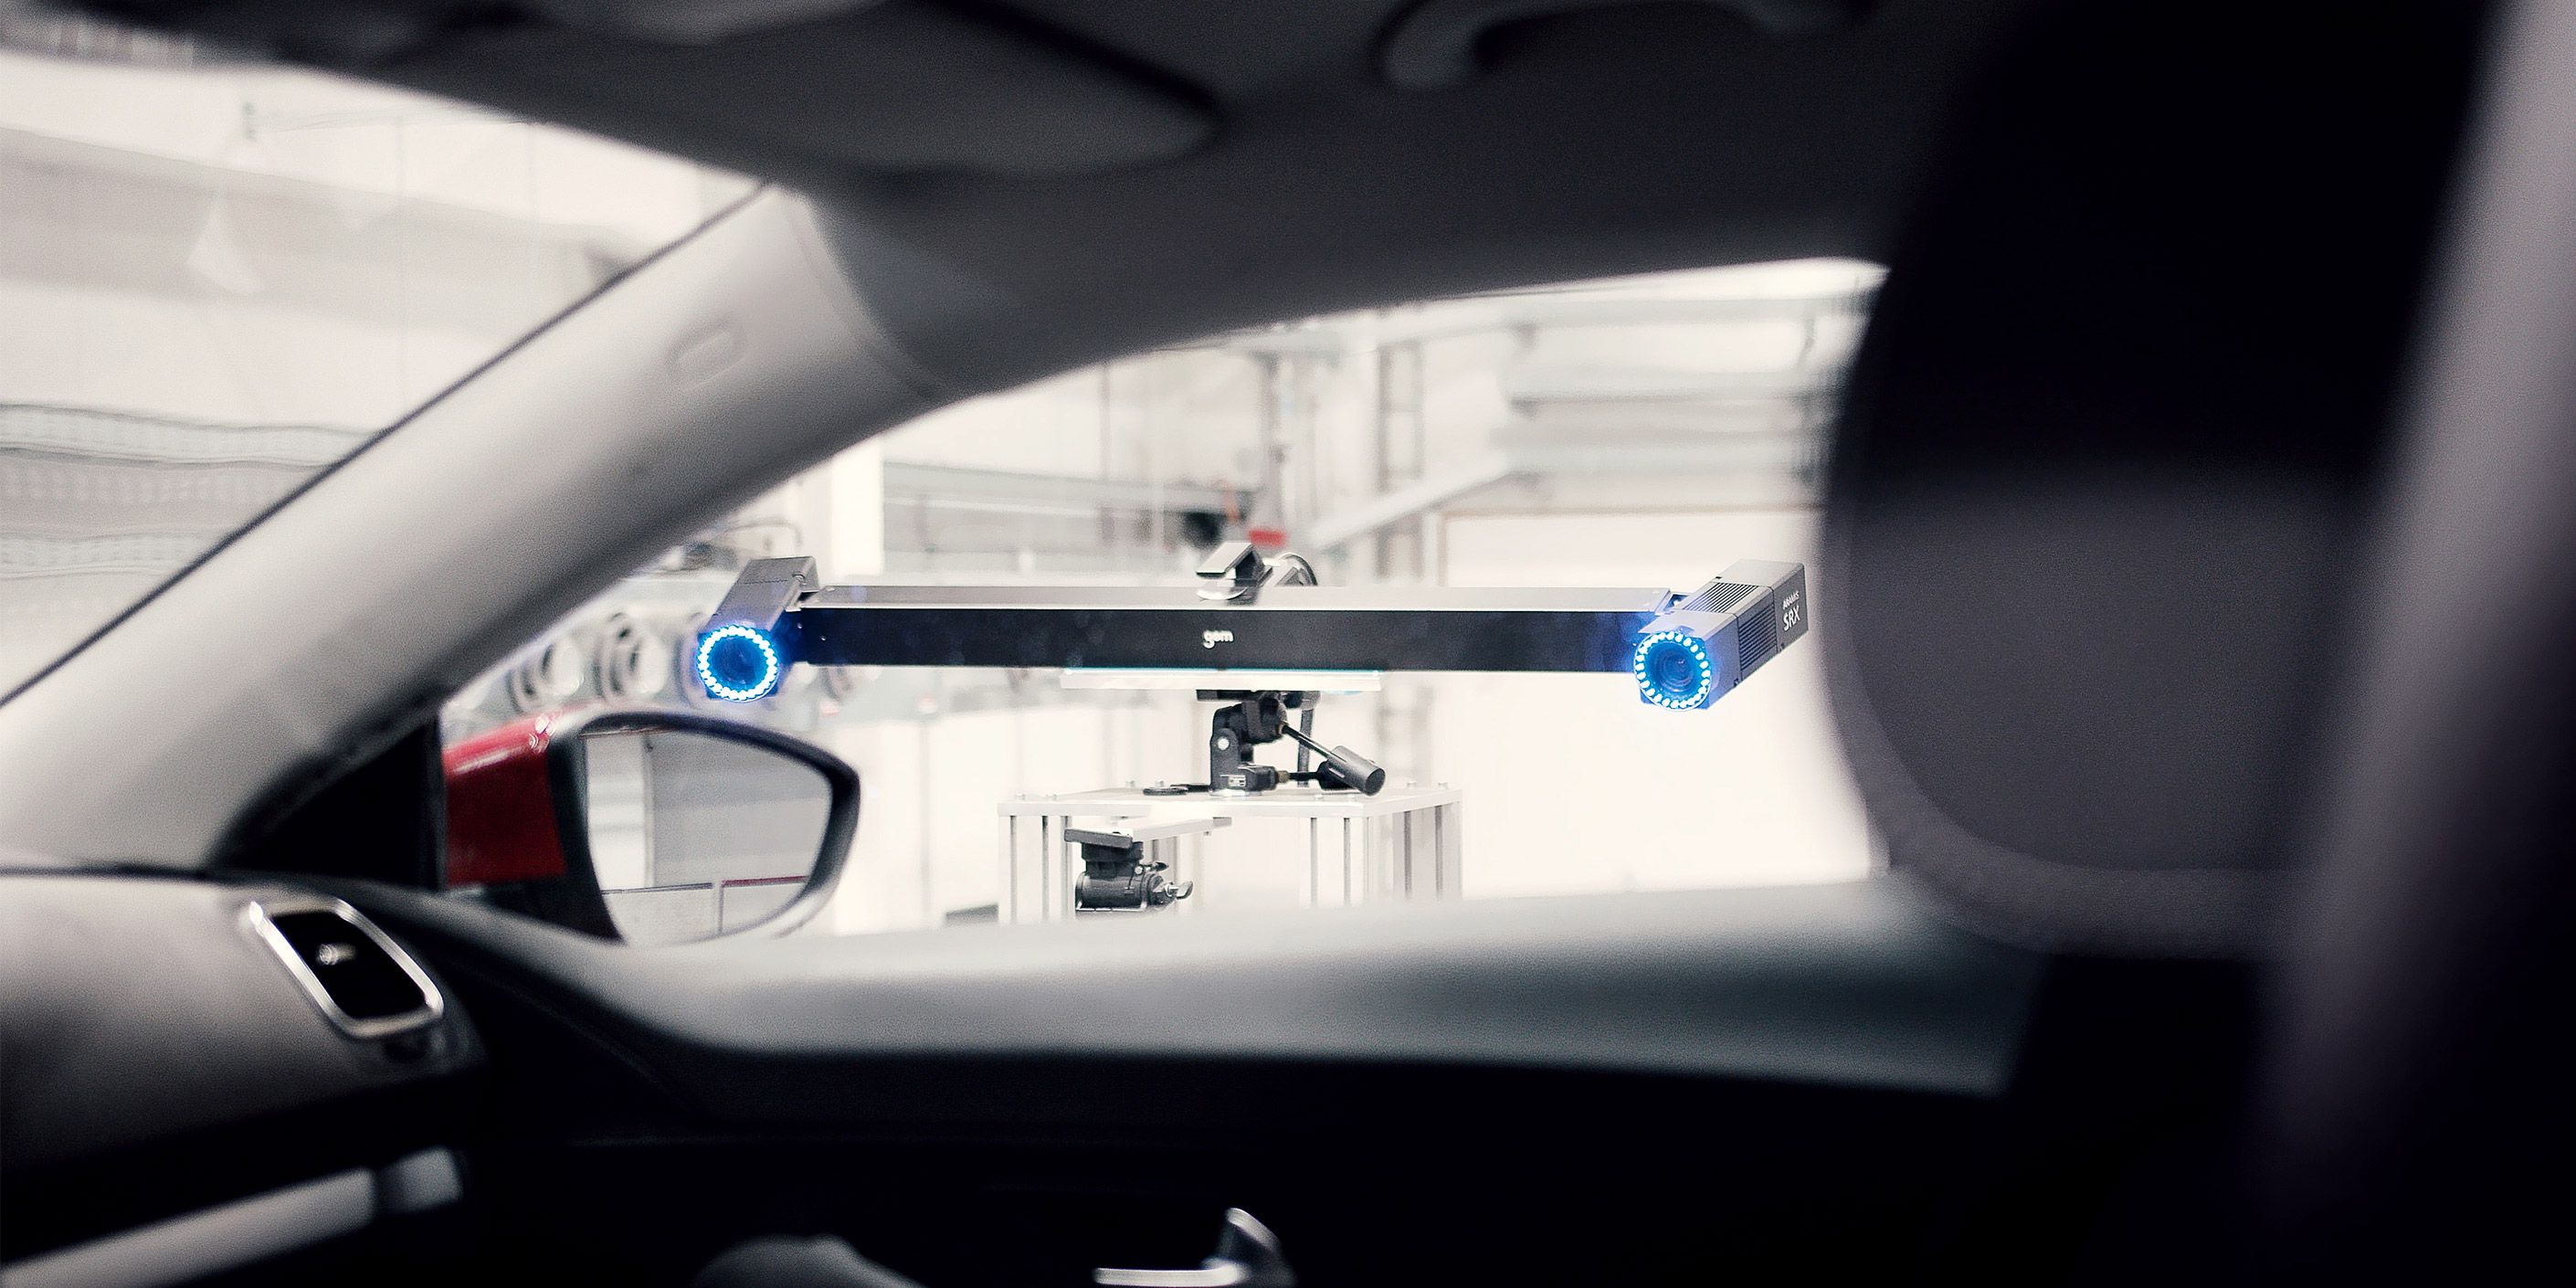
New vehicles are developed with a tremendous amount of meticulous precision – something the drivers are often unaware of. They profit from increasingly safer and more comfortable chassis, which are, for instance, researched and developed at the Vehicle Test Center of the Technical University of Dresden, Germany. Within Europe, the Vehicle Test Center boasts the only full-vehicle test stand outside the automotive industry that analyzes vehicles and individual parts under static and dynamic loads. The test center uses GOM’s ARAMIS system to capture the complete vehicle as it interacts with the components, the chassis, the axles, and the tires.
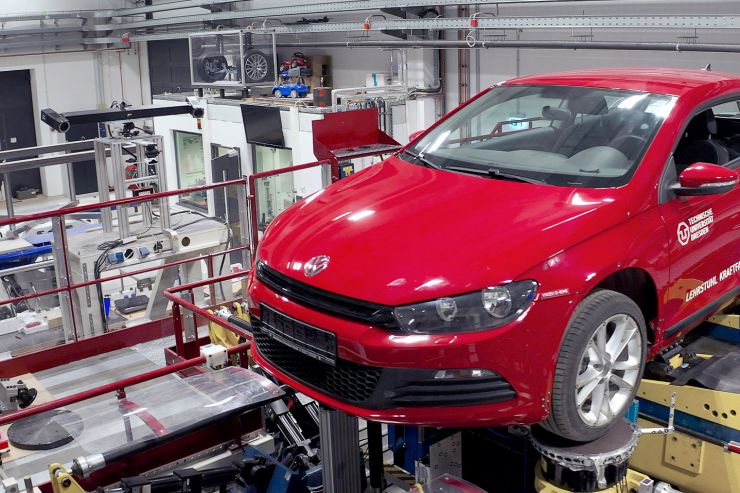
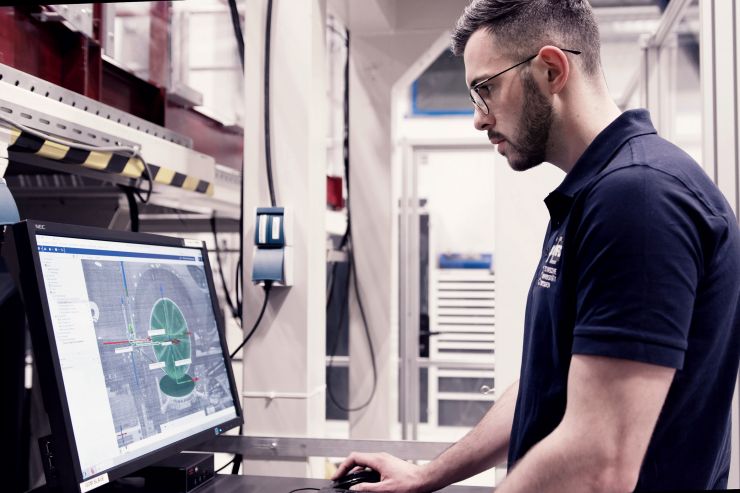
The optical 3D measuring system features fast, time-phased, and non-contact analyses and allows for flexible use. Users at the Vehicle Test Center were impressed by its high measurement accuracy and its suitability for both static and dynamic tests – on the test stand but also on the test track where the system is to be used as well.
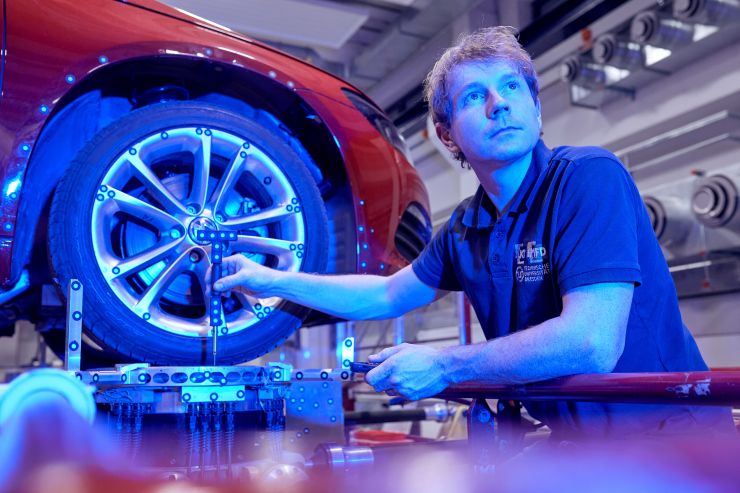
The ARAMIS SRX double sensor scans – simultaneously with the other measurement channels – the entire vehicle chassis, its wheels, and both of its sides in the vehicle coordinate system according to DIN 70000. In contrast to traditional displacement sensors (LVDT), non-contact measurements with ARAMIS sensors deliver 3D point clouds that allow for analyses in all six degrees of freedom (6DoF). The beauty about this: all angular positions of a wheel can be evaluated quickly and easily.
During axle measurements in the Vehicle Test Center of the TU Dresden, ARAMIS is mainly employed for wheel position sizes, i.e. the geometrical position of the wheels in relation to the car body and the road, which has a significant impact on chassis properties (directional stability, tire grip, and wear). Translational and rotational motions in space (wheel position during compression and rebound, changes in camber, track, etc.) are especially important for such measurements. The system offers another major advantage for engineers: the measuring results can be processed straight away in the next step.
ARAMIS & GOM Correlate
ARAMIS provides 3D analyses whenever precise findings on material properties and the behavior of components under load are required. ARAMIS systems allow for non-contact 3D motion and deformation analyses for all materials right down to the submicrometer range and are thus the ideal choice for engineering, materials research, and component testing. The GOM Correlate software displays and evaluates the measured data. It uses the principle of digital image correlation (DIC) and can also process image series and films made with conventional single-camera setups.
Learn more about ARAMIS
