GOM CT
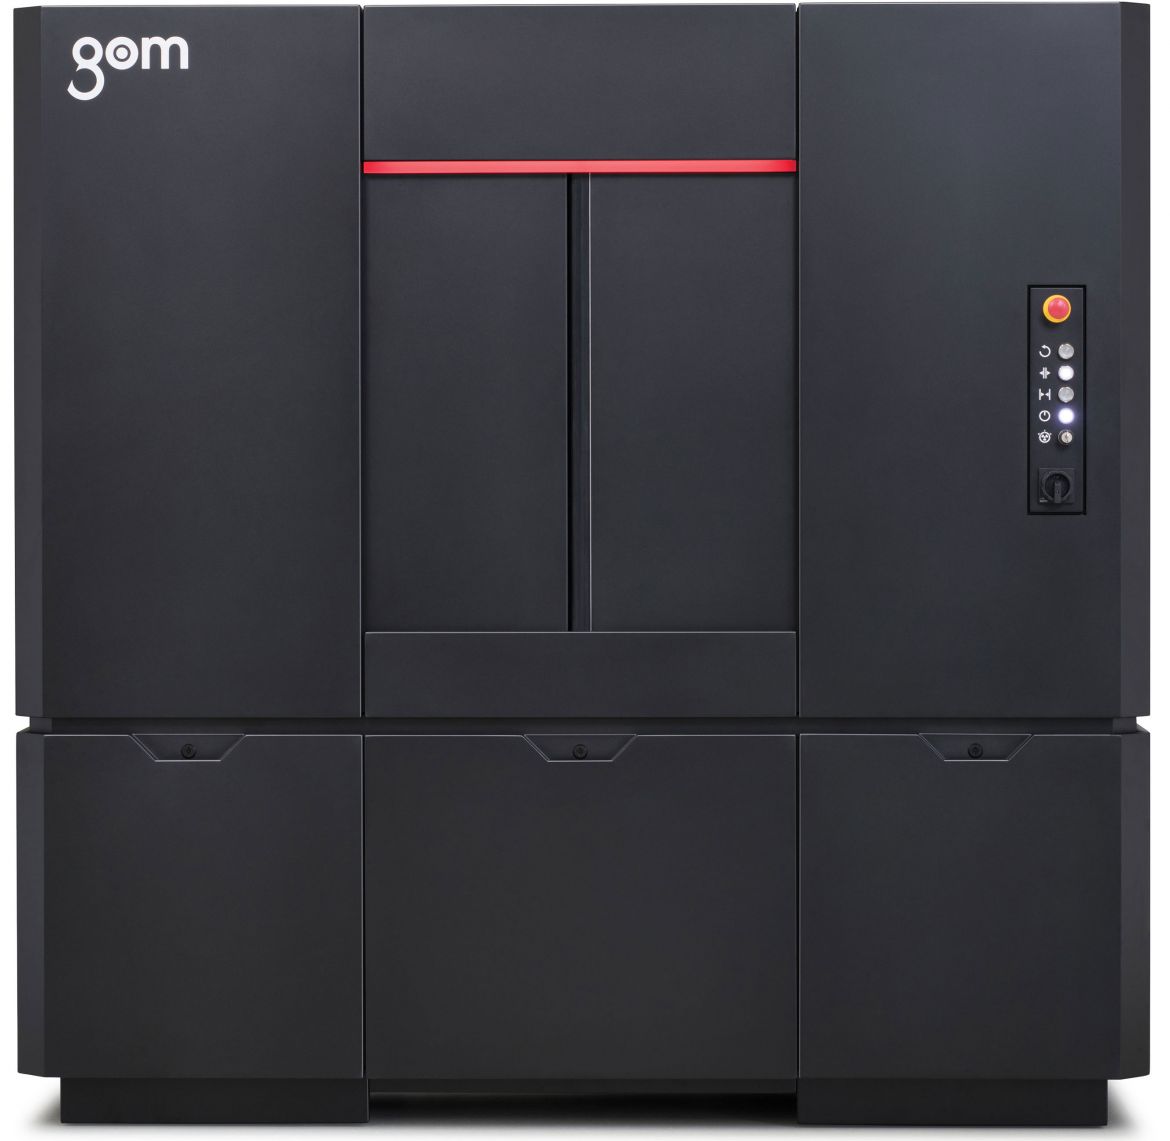
Industrial computer tomograph
This metrology CT can reveal what remains hidden to others
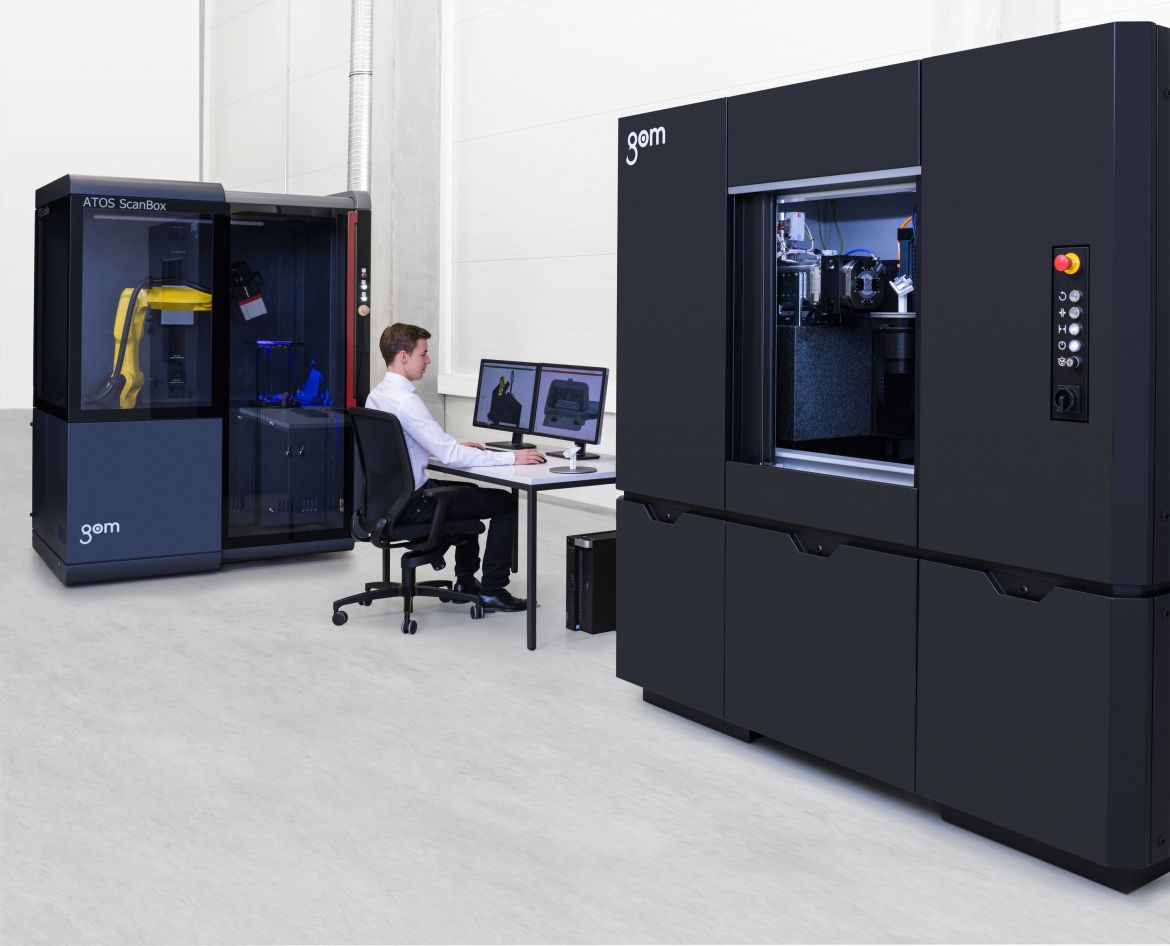
In the past, computed tomography (CT) was only used in the medical community. Now, however, the process is making its way into the industrial environment: with the help of a CT scan, it is possible to digitize parts as well as internal structures in a nondestructive way. The GOM CT is blazing a new trail in terms of image resolution, precision and user-friendliness.
Scanning internal structures with high technology
The GOM CT scans complex parts – including the inner workings – so that the user obtains a comprehensive 3D image of the specimen for GD&T analyses or nominal-actual comparisons.
To achieve the high level of detail required by the industry for component digitization, GOM CT components have been perfectly aligned to each other: a high-contrast 3k X-ray detector generates a very fine pixel grid (3,008 × 2,512 pixels), laying the foundations for high-precision digitization of the component. 5-axis kinematics with an integrated centering table enables the user to optimally position the component in the measuring volume so that the measurement is always carried out in the best possible resolution. Another practical aspect is that several objects can be measured simultaneously in the same measuring area, which increases throughput.
Data acquisition and evaluation without extra steps
GOM combines the control of the device and the metrological evaluation of the data into a single piece of software, making additional software packages redundant. As a result, the entire process, from recording the raw data, to the inspection, to creating the measuring report, is very simple.
Unique object positioning using the live view
Many CT systems expect a great deal of user intervention: they require manual positioning of the part in the measuring room – this alone can develop into a time-consuming puzzle. Users have to rely on the trial-and-error method to find the best possible position by hand. The GOM CT works differently: users simply place the part to be measured in any position in the device and all further steps are automated. Using the live view, the CT software shows users how the X-ray detector would record the specimen in its current position. Users then find the ideal position by moving the virtual positioning tool across the object. Then, the CT software calculates the position of the measuring object and moves it independently.
Other CT machines for inspecting parts are available on the market; however, these often do not meet the high metrological requirements of industrial applications in production and quality assurance. When developing the GOM CT, the company scrutinized existing standards on the market, improved what was already a tried-and-tested system, and came up with a real innovation.

The GOM CT makes the finest details visible throughout the entire component.

GOM CT
Process
Computed tomography (CT)
Area of application
Nondestructive inspection of parts with internal structures. Can be used in initial inspections, tool correction, or inspections in ongoing production processes.
Materials
Smaller plastic and light metal parts
Resolution
3,008 x 2,512 pixels
Measuring volume
Diameter: 240 mm,
height: 400 mm
Voxel size
2 – 80 µm
Space required
H. 2130 mm, W. 2200 mm,
D. 1230 mm
Learn more about GOM CT
https://www.gom.com/metrology-systems/gom-ct.html
