Inline
More efficiency in the production line
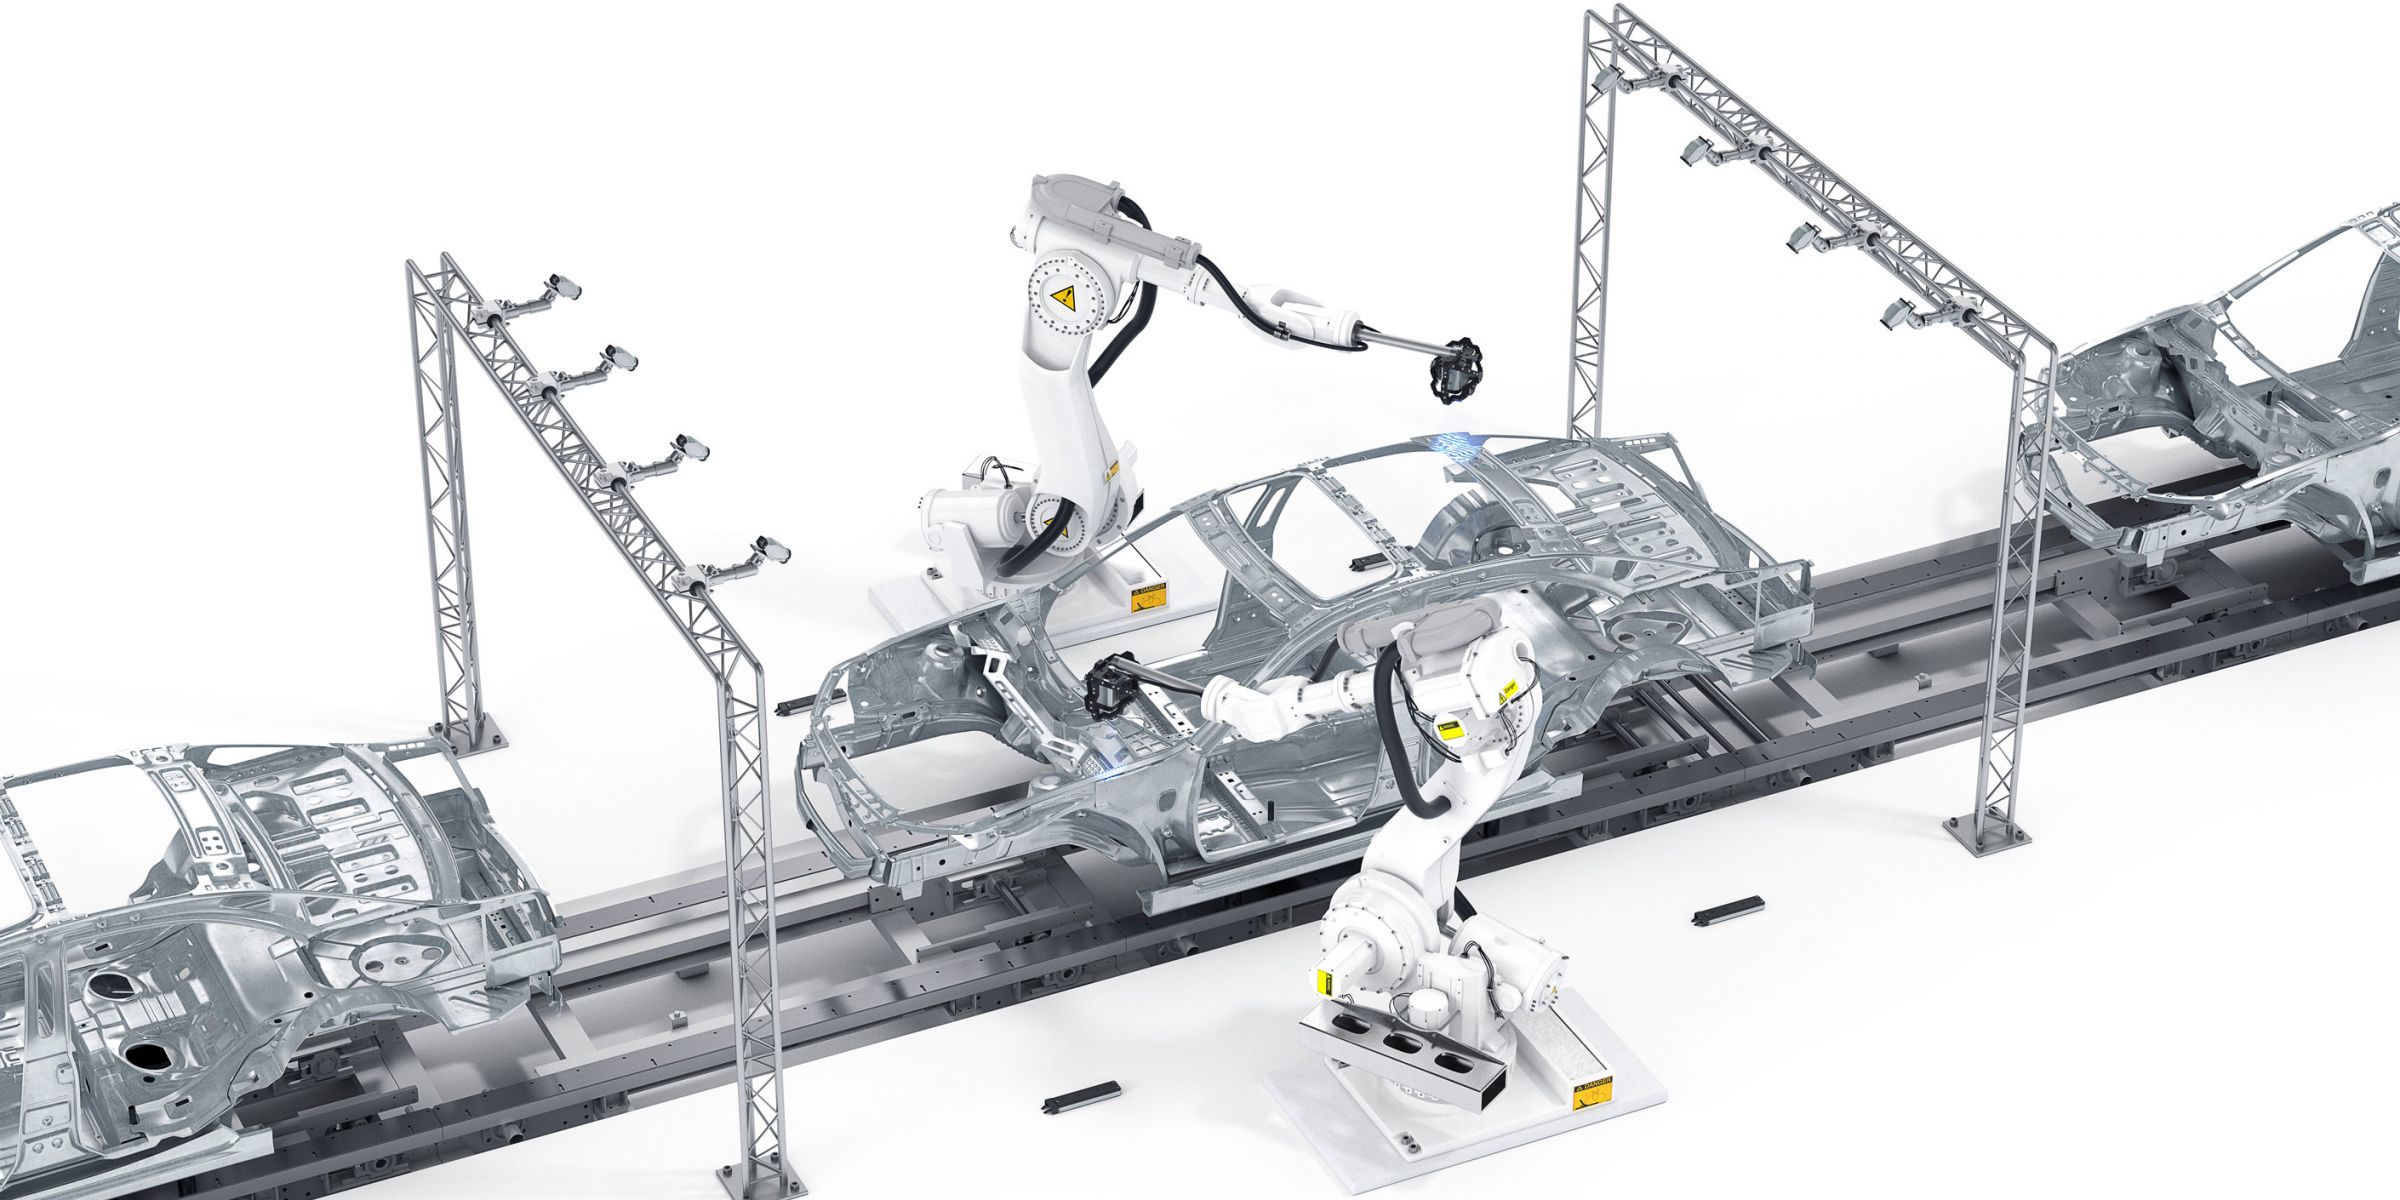
GOM and ZEISS have laid the foundation for high-quality, even more efficient manufacturing: the complete integration of measuring systems into the production line. In tomorrow’s smart factories, measuring systems will deliver absolute and accurate, traceable measuring results inline, without having to wait for results from a serial measuring room. These systems will provide the data needed for production control loops.
Absolutely in line
Today, inline measuring systems are already monitoring the production process in automotive manufacturing. However, they cannot control the complete production quality of the finished car body parts as defined in the inspection feature plan. To be able to assess production quality, the measuring data recorded inline must be correlated with the results from the measuring room in a complex, time-consuming process. The high-precision, absolute measuring systems from GOM and ZEISS do not require correlation and deliver reliable and conclusive measuring data for series monitoring from the very first component.
ZEISS: AICell trace
Features such as bolts, holes, and edges can be measured inline in fractions of a second. The high-precision, fast ZEISS AIMax cloud 3D sensor allows real-time process monitoring of complex features as well as production ramp-up support. The new tracking technology used in the ZEISS AICell trace, which measures the sensor position on the robotic arm with high precision, eliminates the need for complex correlation measurements with coordinate measuring machines in a separate measuring room. This means it is possible to obtain reliable, traceable measuring and inspection data from the first part produced during ramp-up. This enables a 100% inspection of up to 80 relevant features required for inline process control. Up to 300 relevant features can be measured for an underbody on a rolling basis.

GOM: ATOS ScanBox
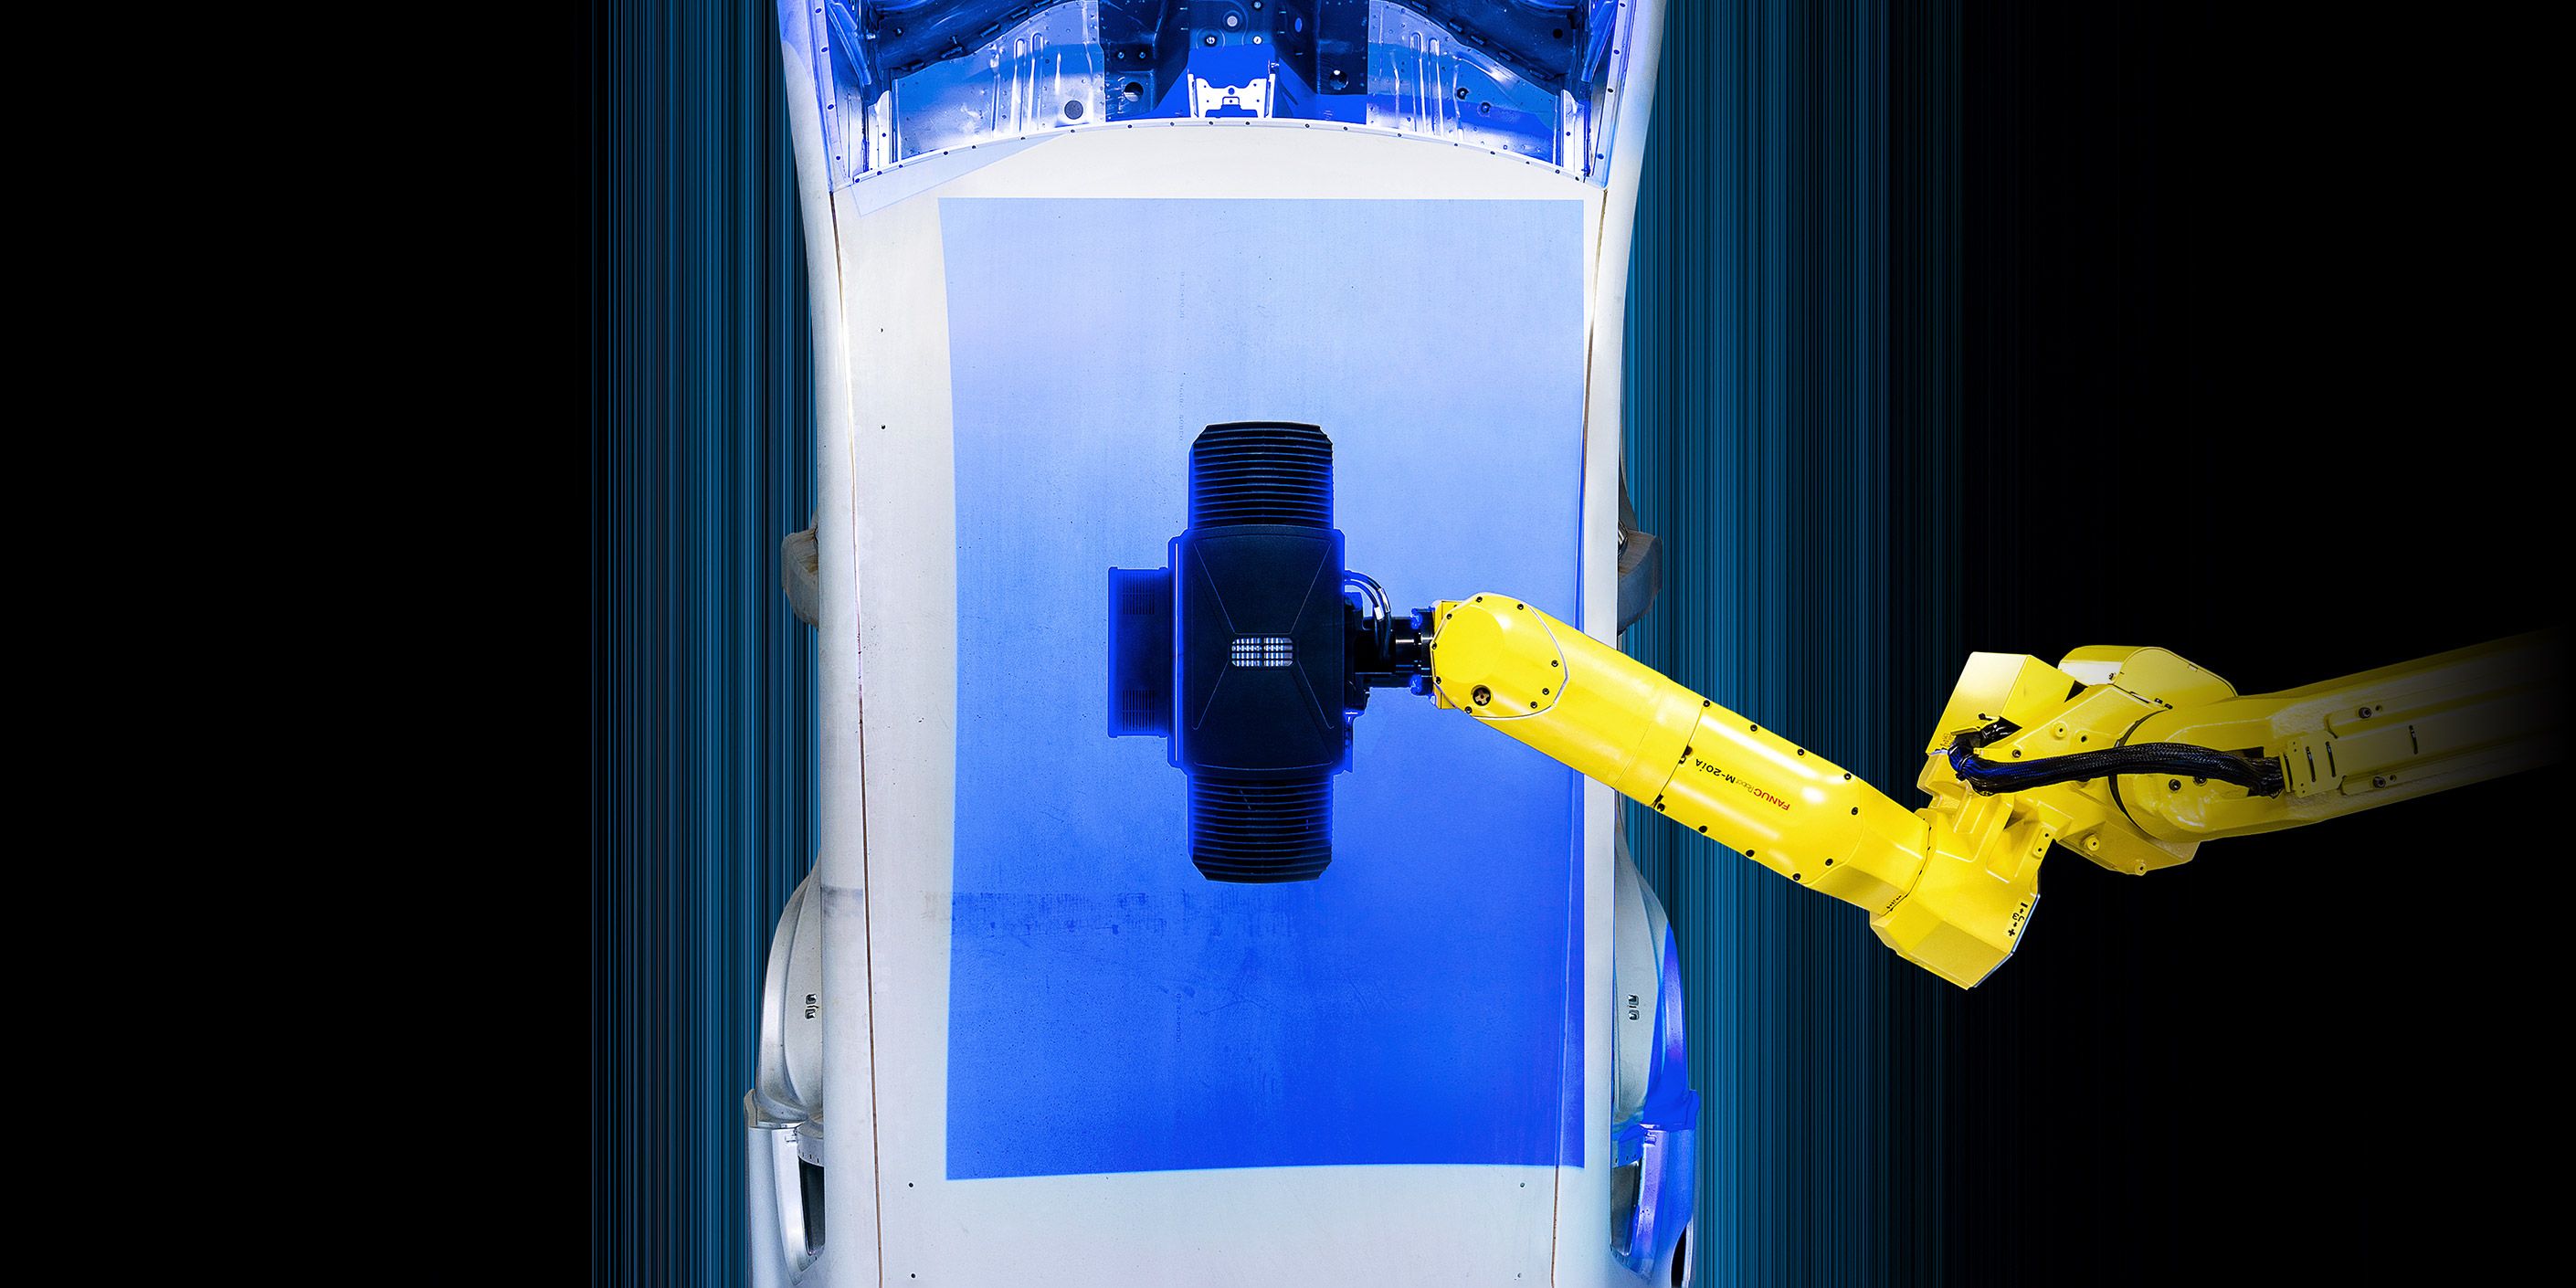
After the features have been measured, robot-controlled ATOS 5X sensors from GOM digitize the entire car body – from above and below, from the side, and even from the inside. The 8-axis kinematics developed by GOM – a combination of a linear axis, a vertical lift, and an articulated robot with an integrated cable duct – allows a great deal of flexibility in positioning the sensors. The sensors provide full-field 3D coordinates with every scan. Each individual measurement consists of up to 12 million 3D measuring points. The result is a completely digitized body-in-white, referred to as the geometric digital twin. Using the full-field measuring data, the GOM Inspect Suite software automatically derives the inspection characteristics plan and identifies the deviations between the digital twin and the CAD data. Digitized doors and hatches can be integrated virtually into the digital twin of the body-in-white to analyze gap and flush.
Dr. Carsten Reich, Director Automation
