More inline efficiency
Metrology Goes Inline
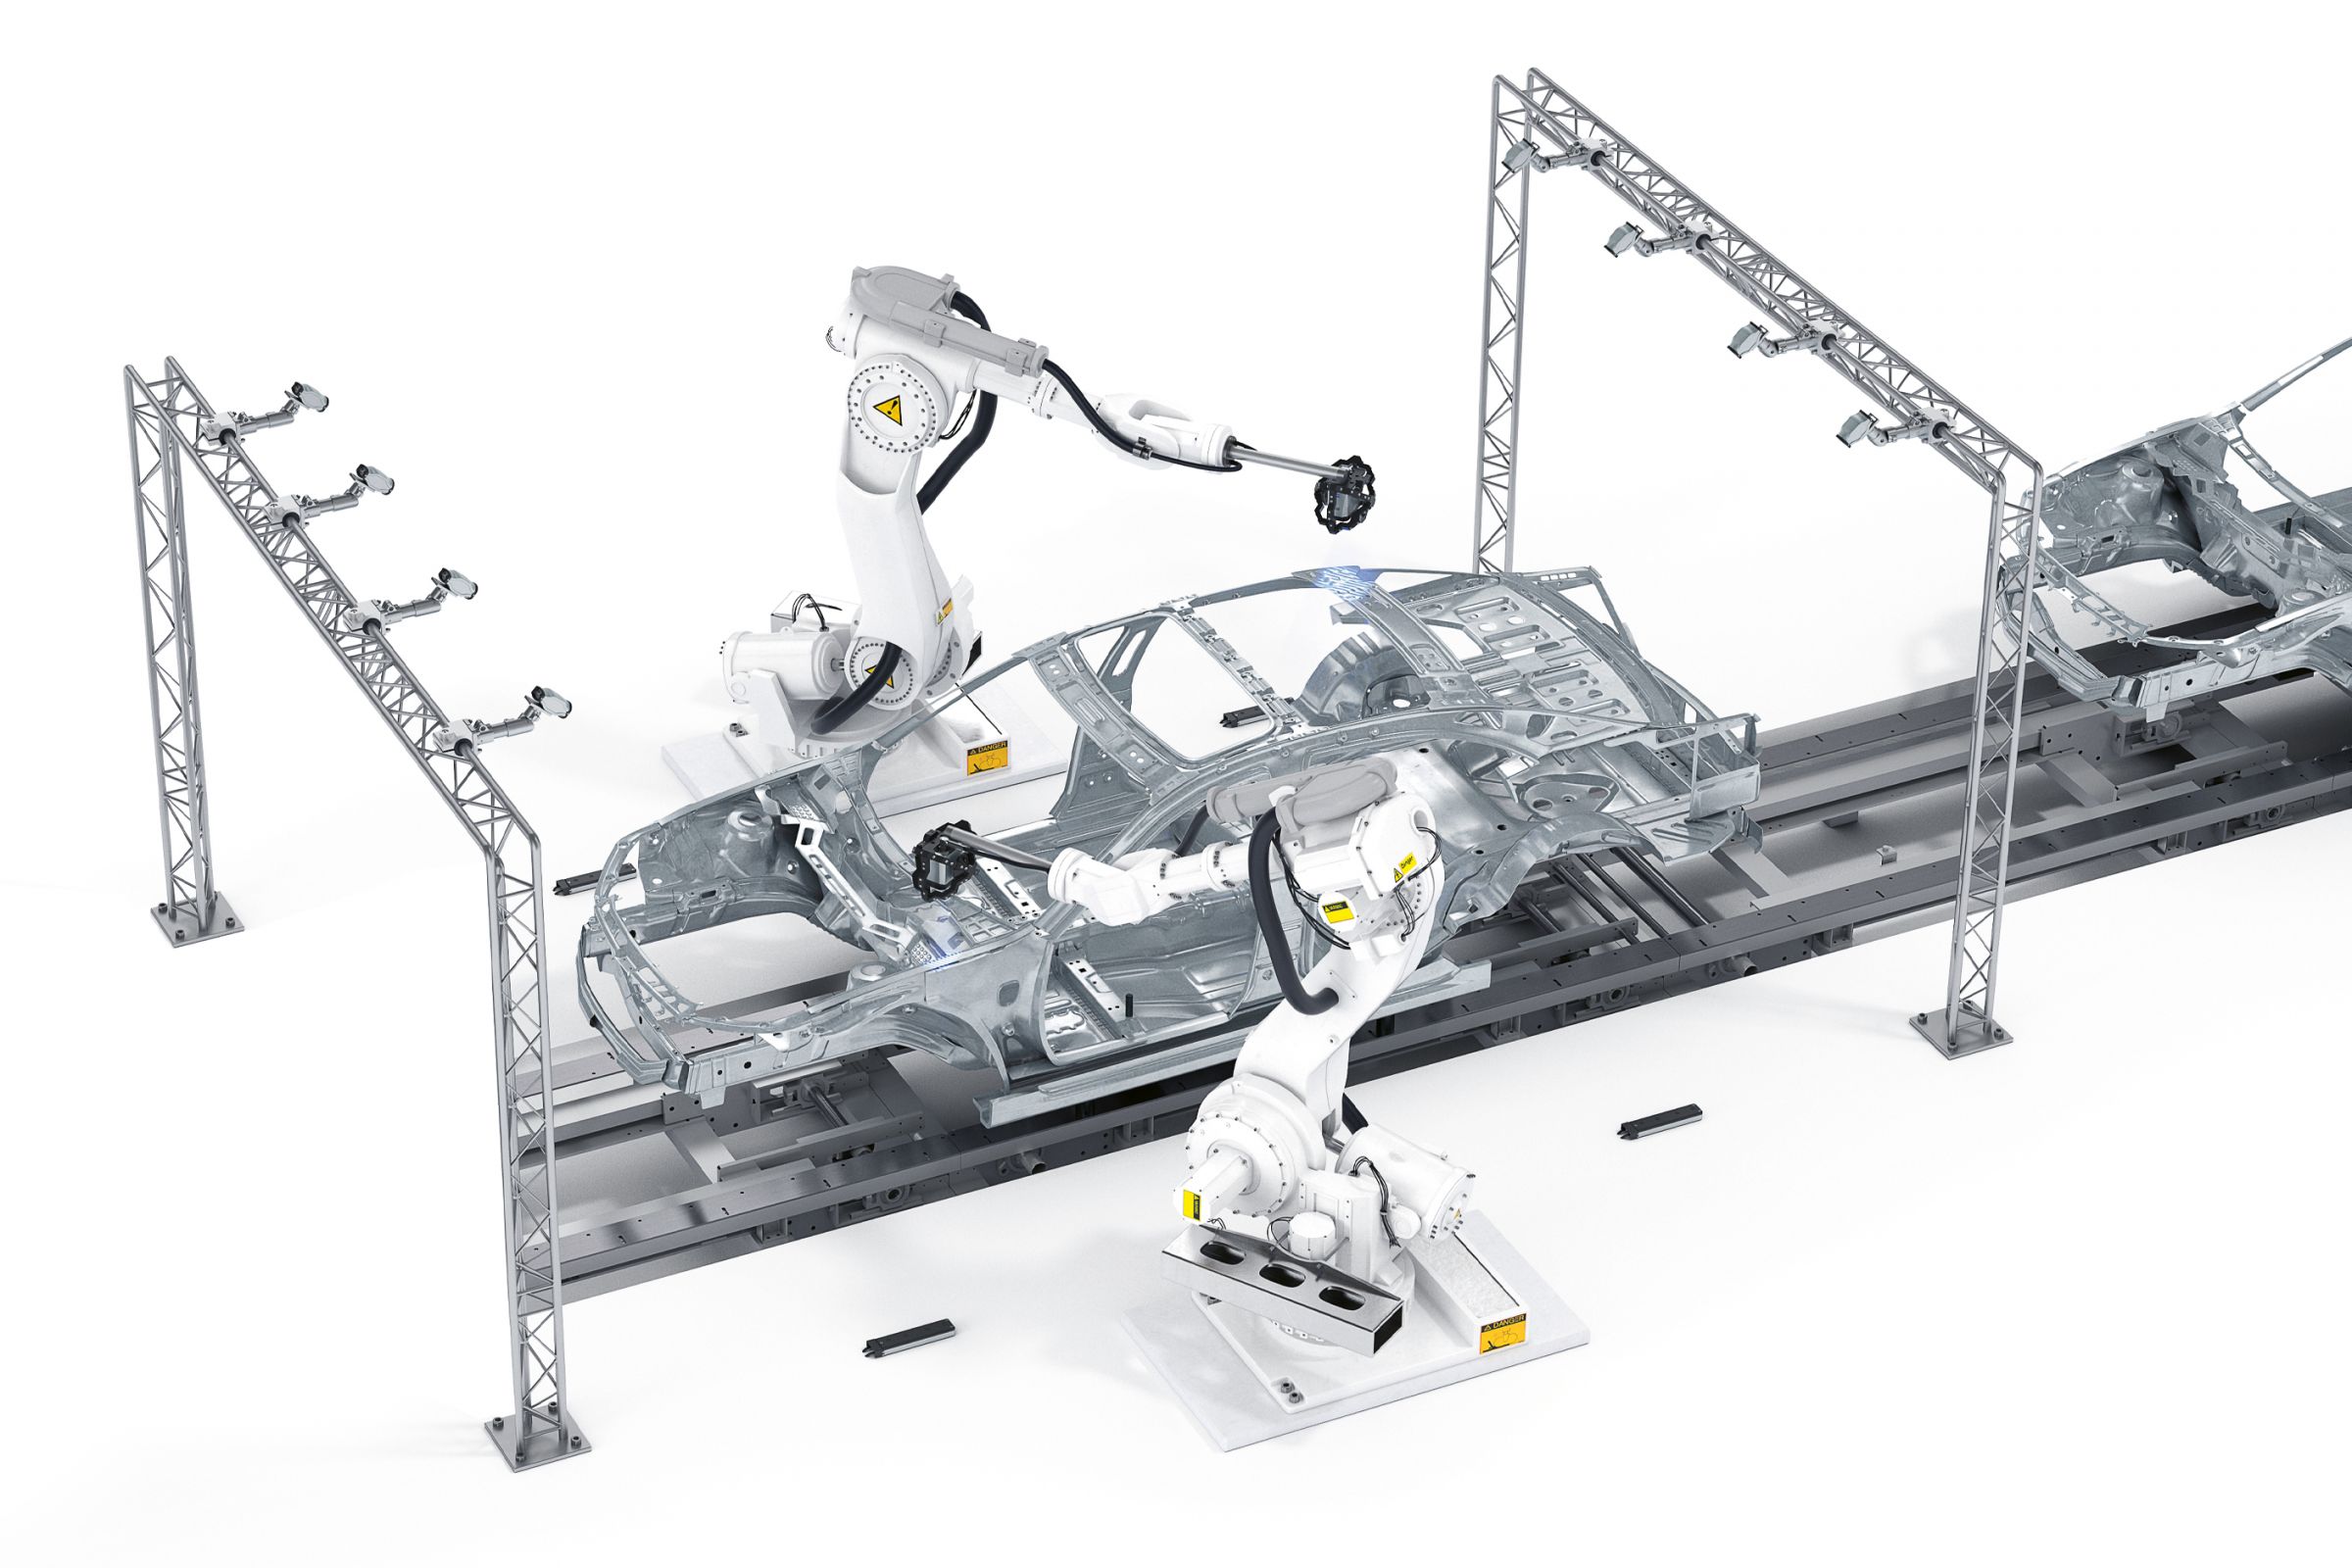
More and more body shops are using fully integrated metrological solutions in their lines. They want to reduce the utilization rate of measuring rooms and increase the throughput of measured parts. When using inline systems, the shop floor staff can immediately respond to quality problems where they arise and control the production process proactively. The high-precision and absolute ZEISS inline solutions do not require correlation and deliver data that can be traced metrologically.
Absolutely in line
Although inline measuring systems are already monitoring the automotive manufacturing process, they cannot control the overall product quality of the manufactured body parts as defined in the inspection feature plan. To be able to assess the quality of manufactured parts, the measurement data recorded inline has to be correlated with the results from the measuring room in a complex, time-consuming process. The absolute measuring solutions from ZEISS do not require correlation and deliver reliable and conclusive measurement data for series production control.

ZEISS AICell trace
The ZEISS AICell trace inline measuring system is helpful during production ramp-up and ensures process control directly in the production line. The highly accurate and fast ZEISS AIMax cloud 3D sensor captures very complex features on assemblies and bodies in real time, e.g., bolts, edges, holes, rivets or even the position of a welding nut behind sheet metal. The new tracking technology used in the ZEISS AICell system trace monitors the sensor position on the robotic arm with high precision, thus eliminating the need for complex correlation measurements in the measuring room. With this method, users will be able to obtain reliable, traceable measurement and inspection data from the first part produced during ramp-up. Depending on the cycle time and the number of robots, the system captures up to 100 features per cycle. In addition, rolling measurements and pause programs for analysis measurements can also be integrated.
ATOS ScanBox
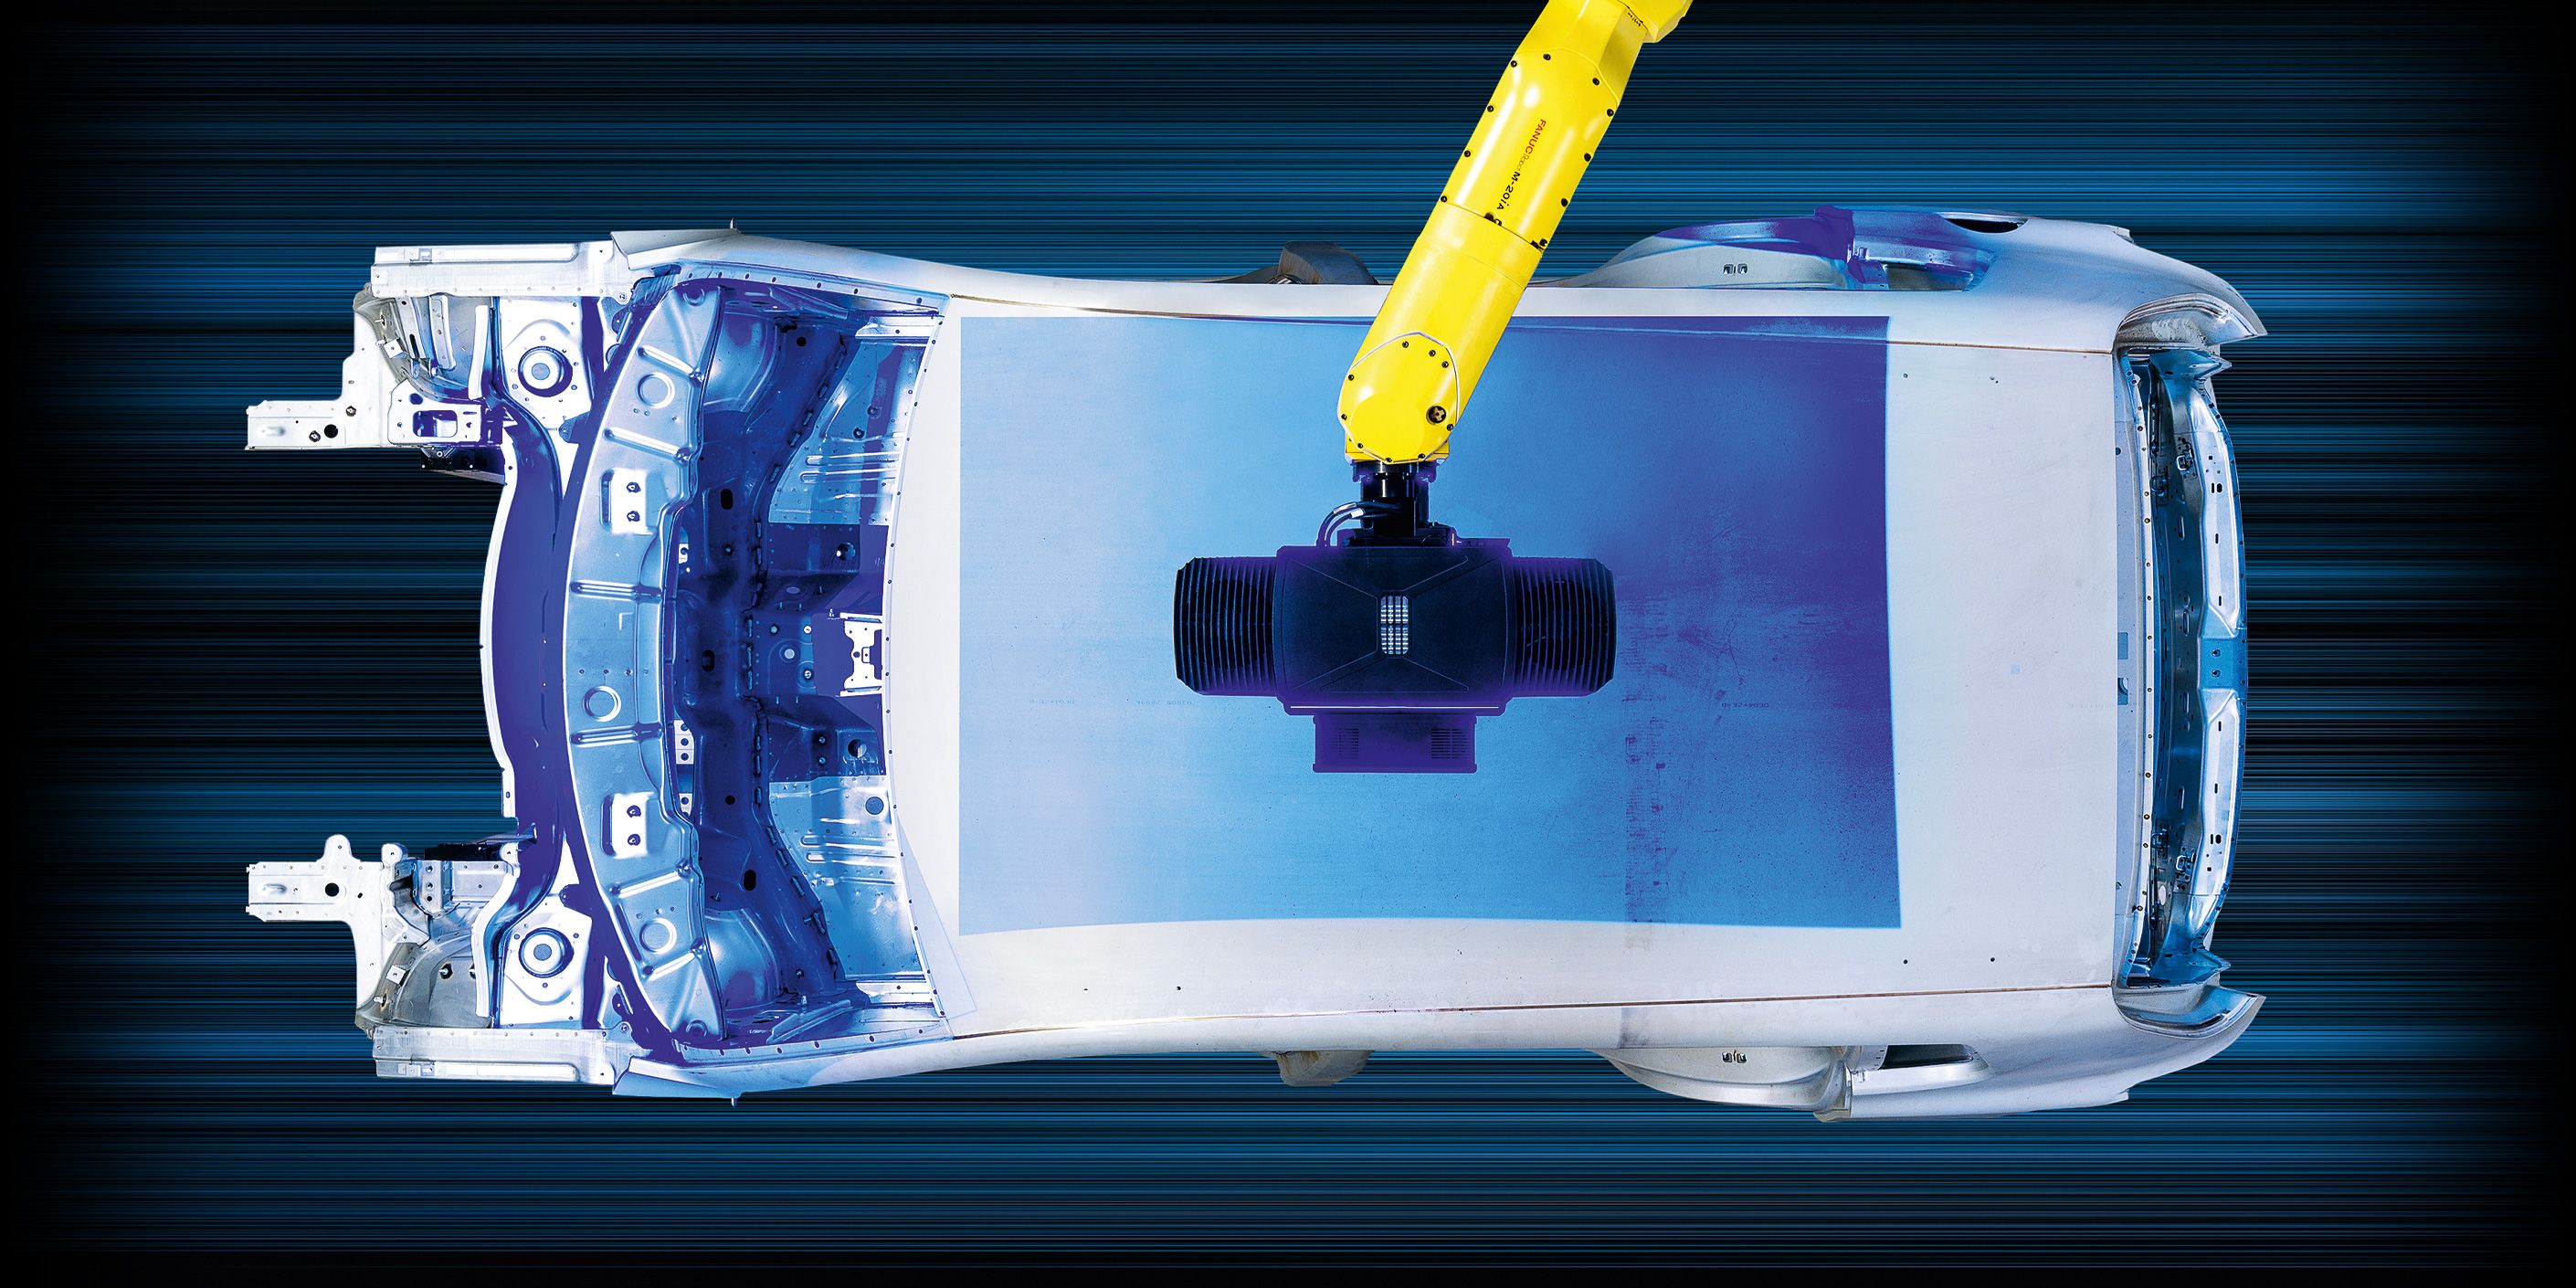
After the features have been measured, robot-controlled ATOS sensors digitize the entire body-in-white from different perspectives with high precision and high detail resolution. Users can then extract process- and quality-relevant inspection characteristics for statistical evaluations by using the resulting absolute, correlation-free and traceable data. The sensors produce full-field 3D coordinates with every scan. As a result, you will see a complete digitization of the body-in-white, known as a geometric digital twin. Using the full-field measurement data, the GOM Inspect Pro software automatically derives the inspection feature plan and identifies deviations between the digital twin and the CAD data. The analysis illustrates very nicely whether the chassis marriage is flush and without gaps. In the digital assembly, users can analyze the interaction of the outer skin with the hang-on parts before the actual assembly has occurred.
In tomorrow’s smart factories, measuring systems will deliver absolute and traceable measurement results inline, eliminating the wait for results from a measuring lab. Ultimately, these systems will provide the data needed for production control loops.
